Tyson Energy Solutions Before & After Photos
Click on a photo to enlarge.
Katherine contacted us looking for a solution to her home’s inconsistent temperatures and subpar air quality. Upon inspecting her attic, we discovered the primary issue: it had only four inches of outdated fiberglass insulation that was no longer providing adequate thermal protection. To enhance her home’s energy efficiency and overall comfort, we recommended a complete attic restoration.
We carried out the following steps to restore the attic:
- Extracted and disposed of the old, deteriorating fiberglass insulation.
- Sealed air leaks throughout the attic using closed-cell foam, targeting areas such as top plates, vents, recessed lighting, smoke detectors, and plumbing and wiring openings.
- Thoroughly cleaned and disinfected the attic to eliminate pollutants, allergens, and lingering odors, promoting a healthier indoor environment.
- Installed rodent-proof barriers at vulnerable entry points to deter future infestations.
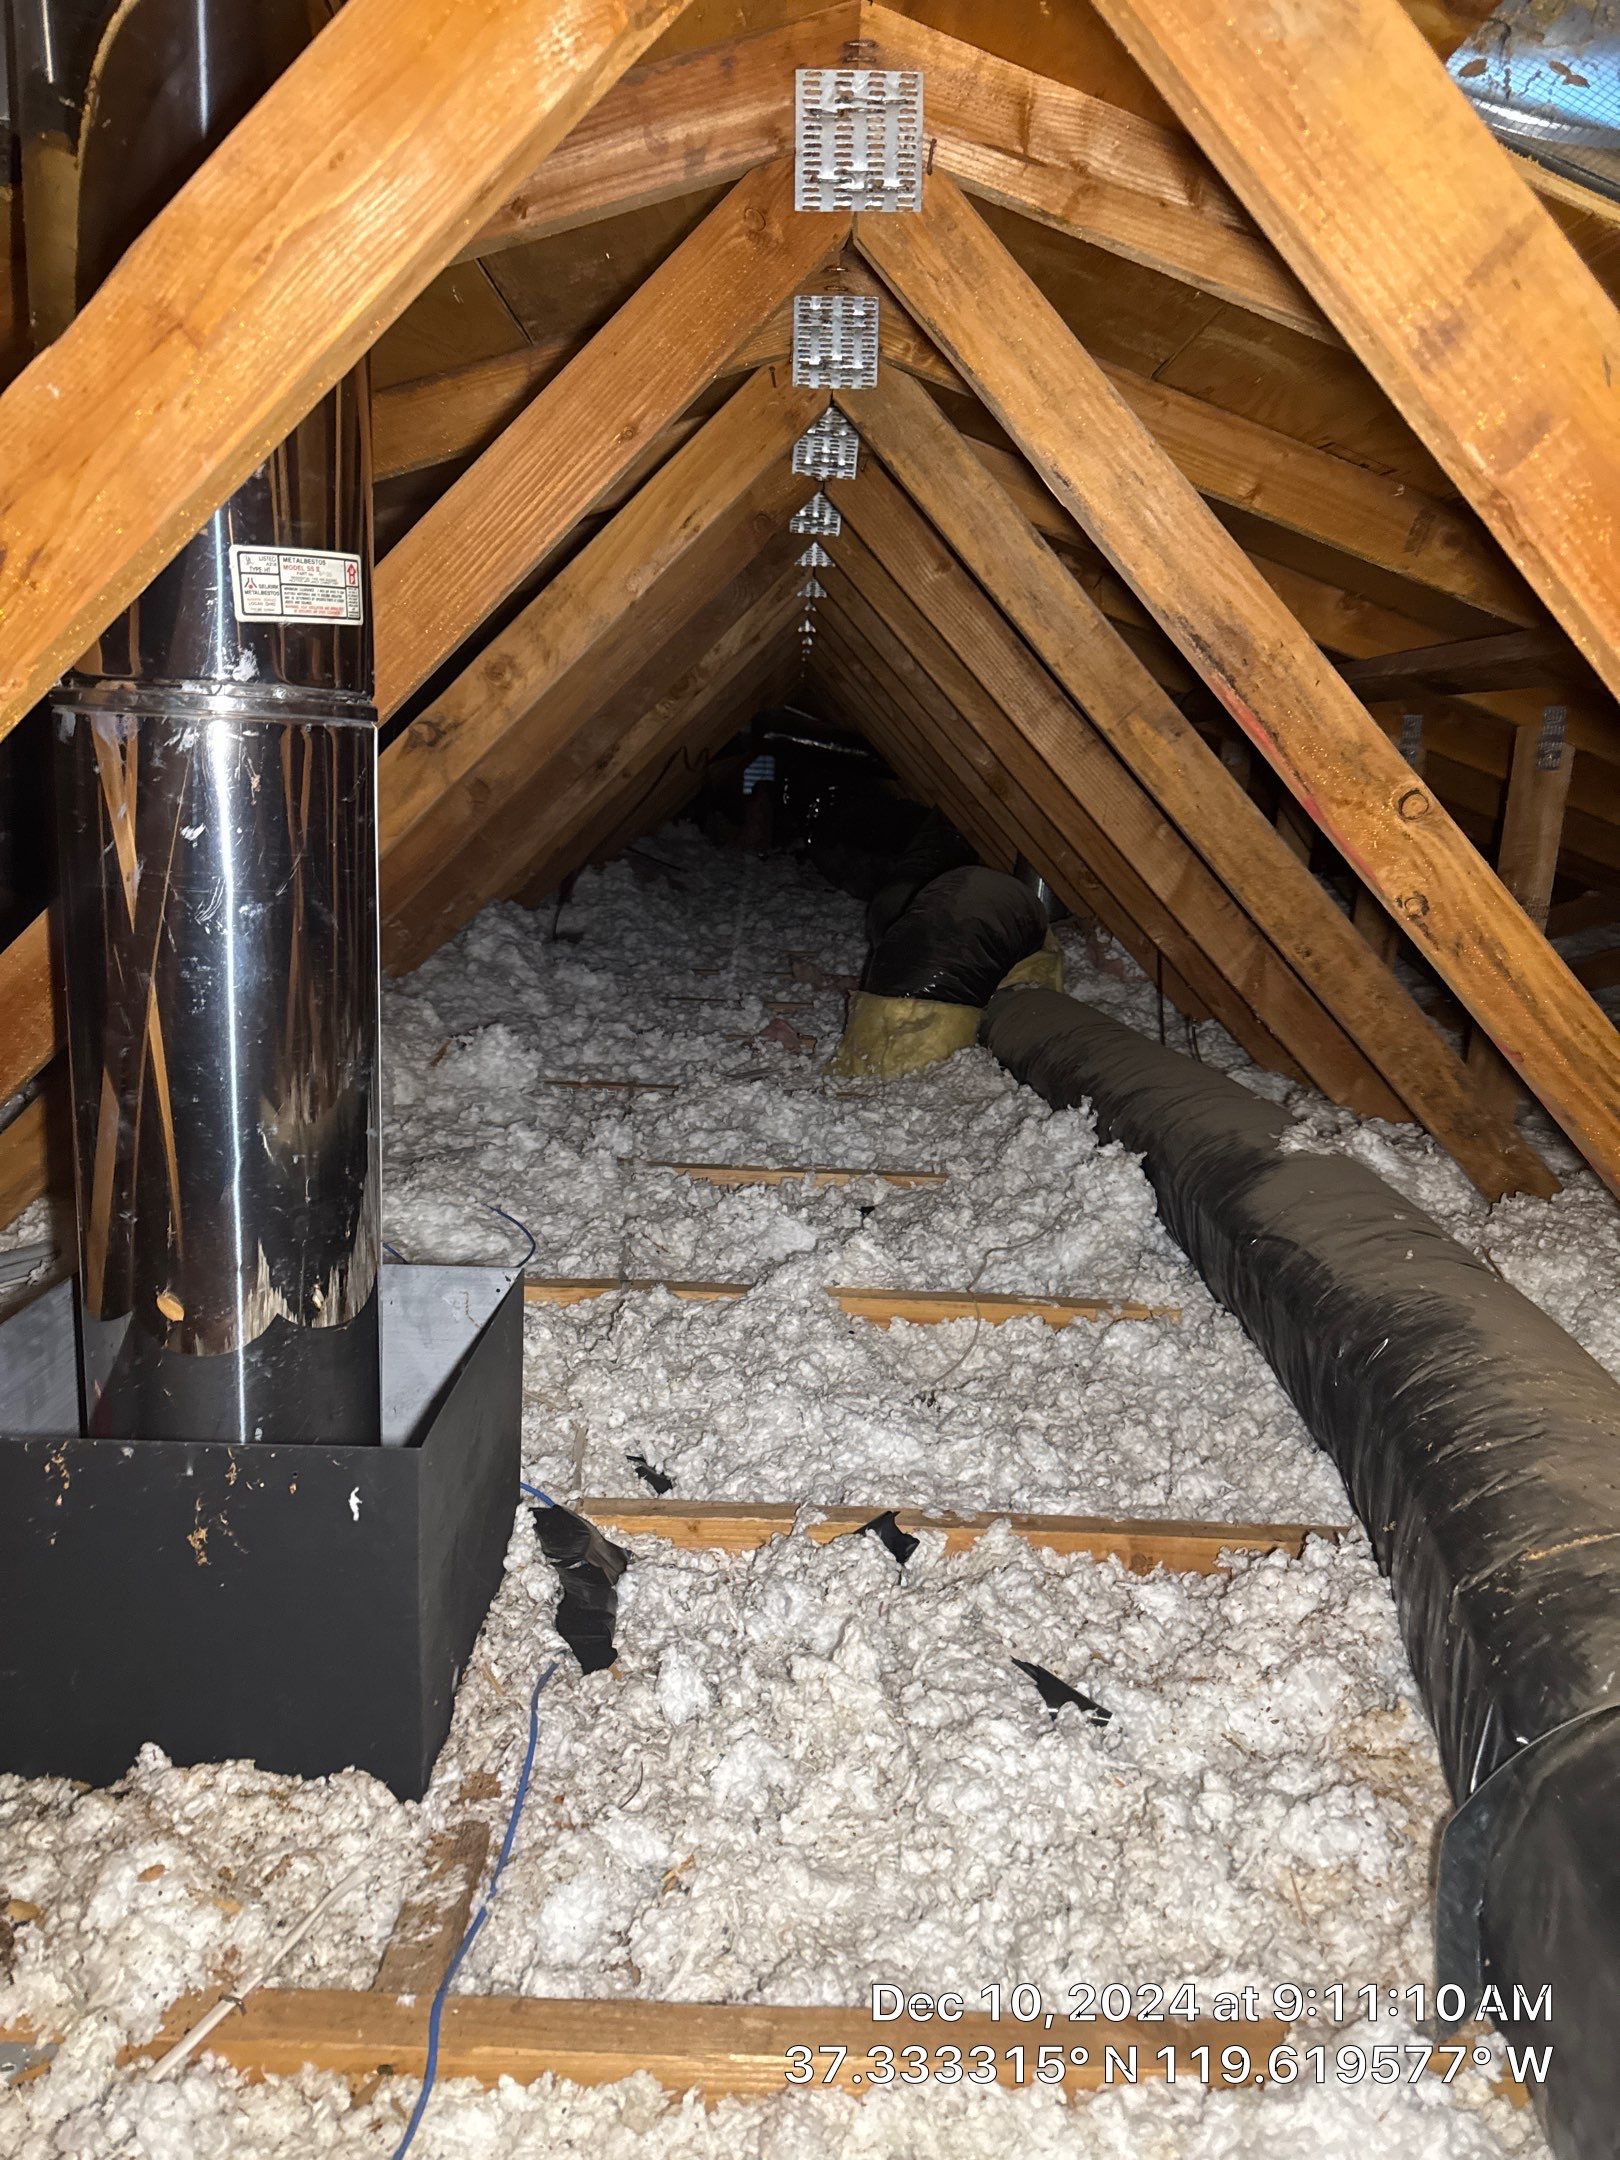
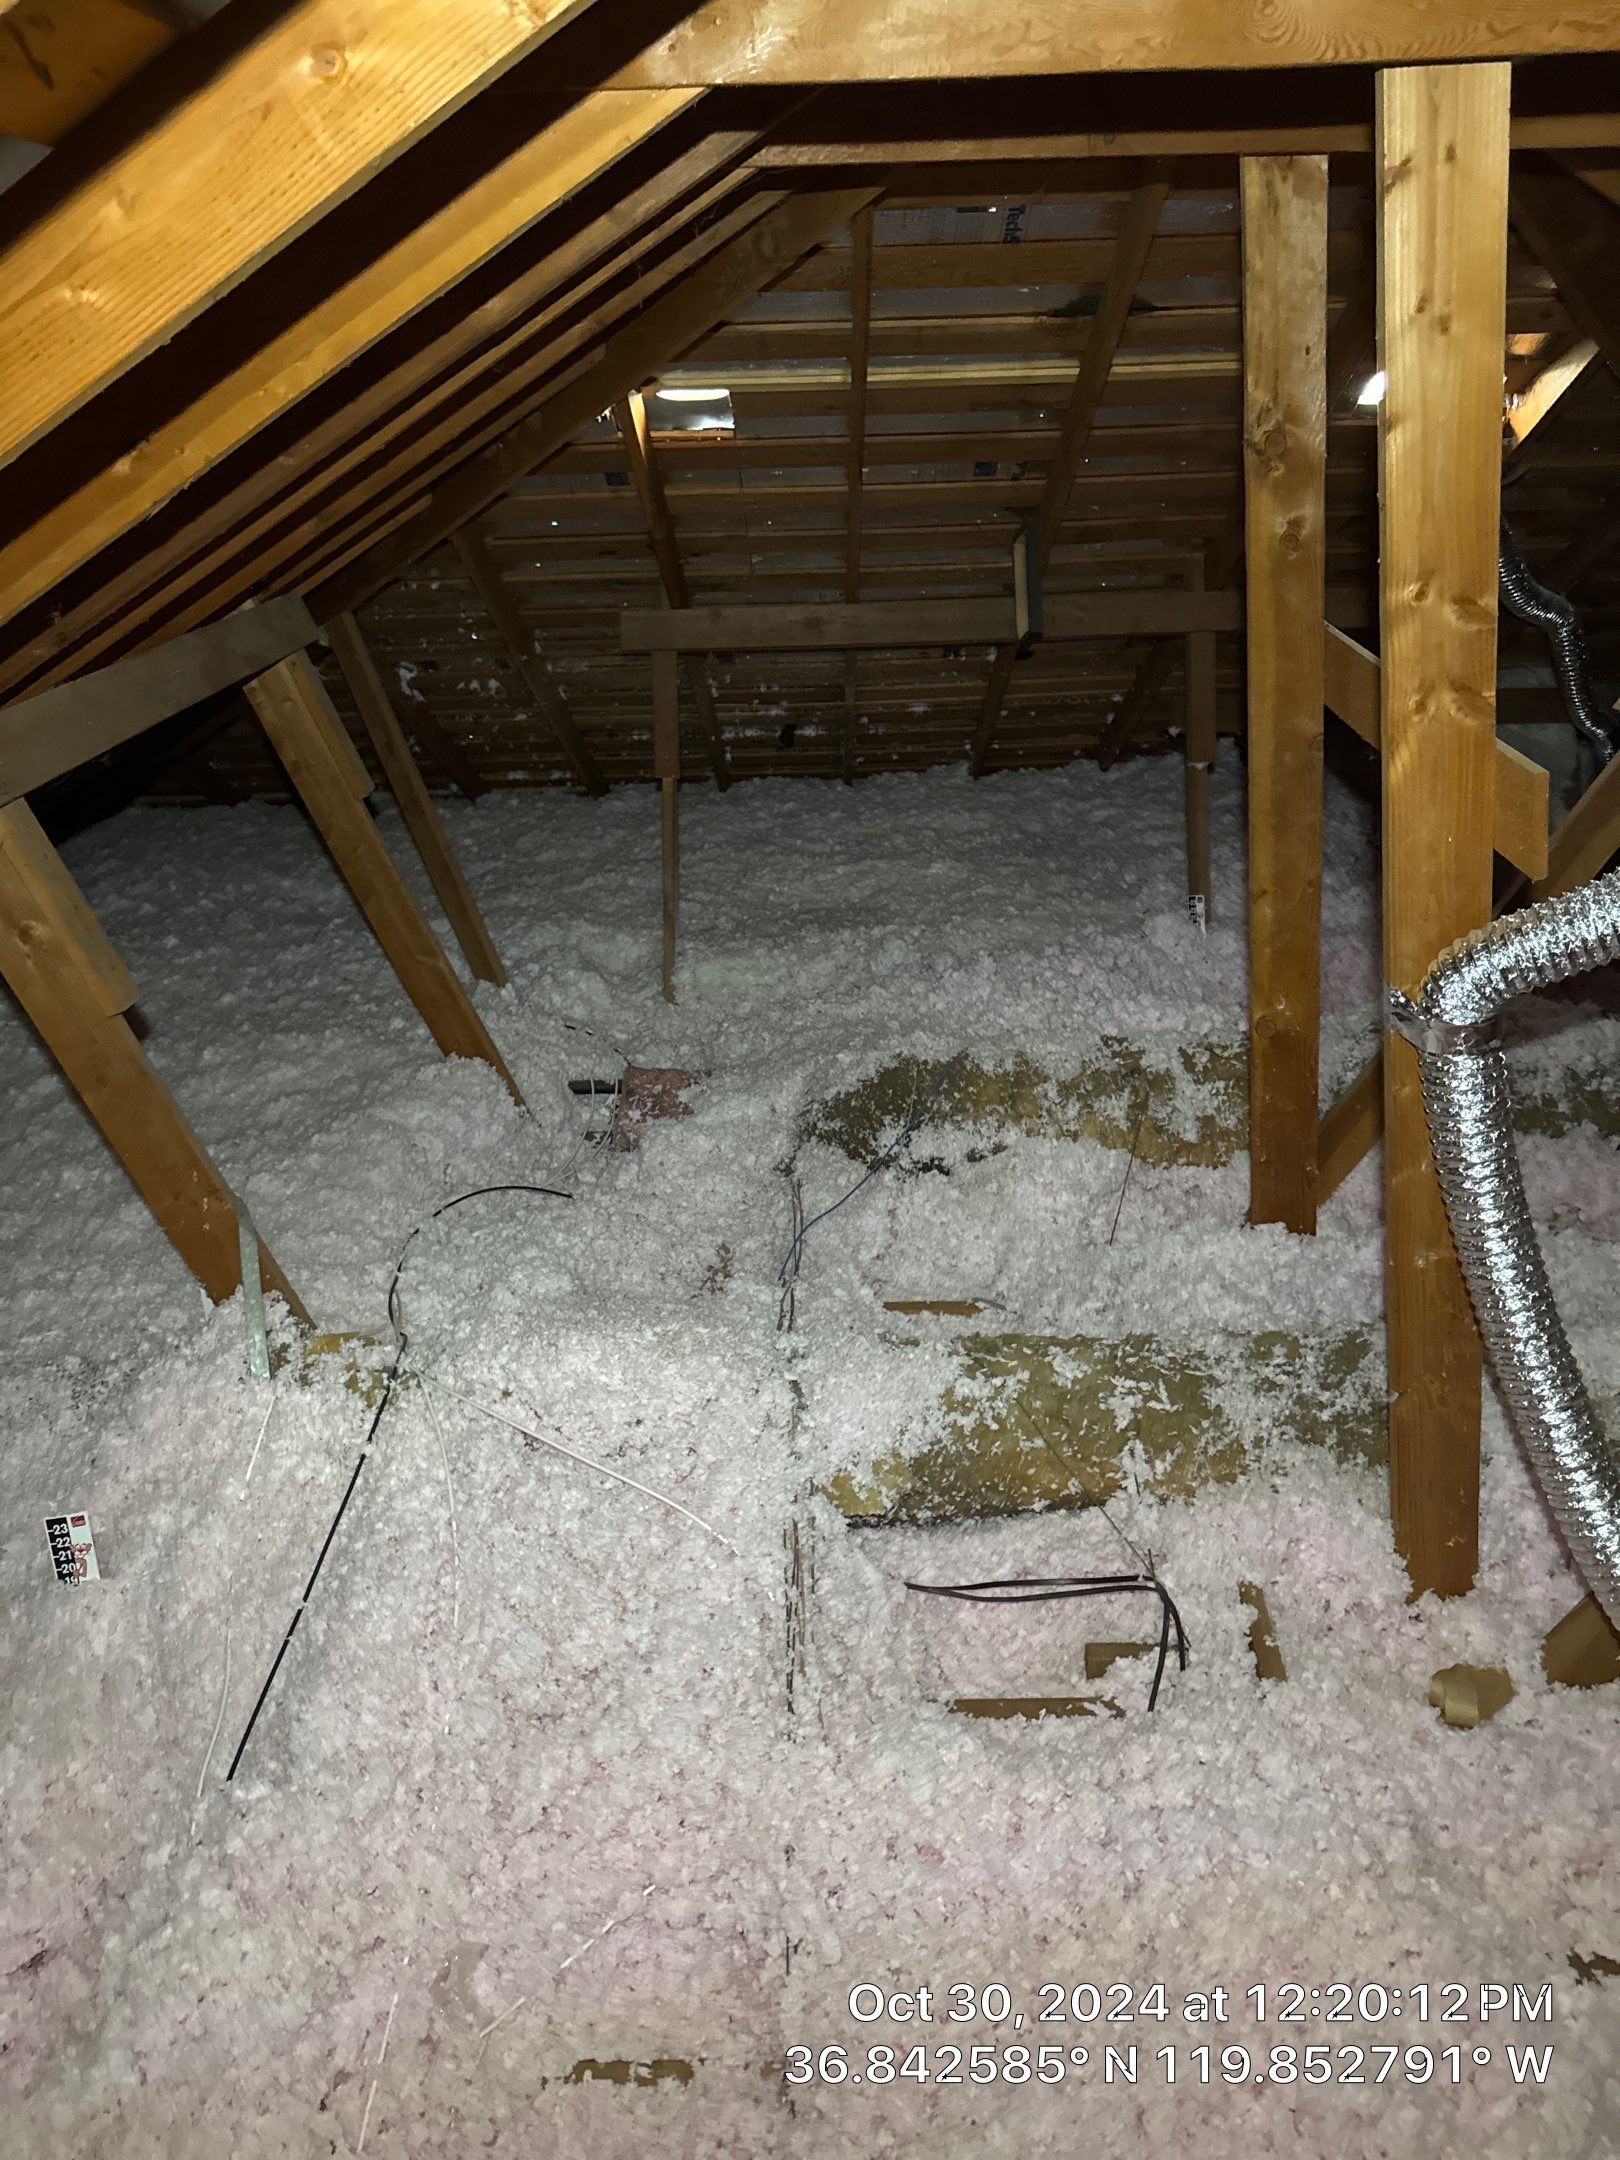
- Applied high-quality fiberglass insulation to an R38 level, significantly enhancing the attic’s heat retention capabilities.
- Provided Katherine with before-and-after photos to illustrate the transformation.
- Informed Katherine about our 6-month rodent re-entry warranty for added assurance.
As a result of this attic restoration, Katherine’s home will now maintain a more consistent temperature year-round, reducing the workload on her HVAC system. She will experience better indoor air quality, decreased energy expenses, and a noticeably more comfortable living space for years to come.
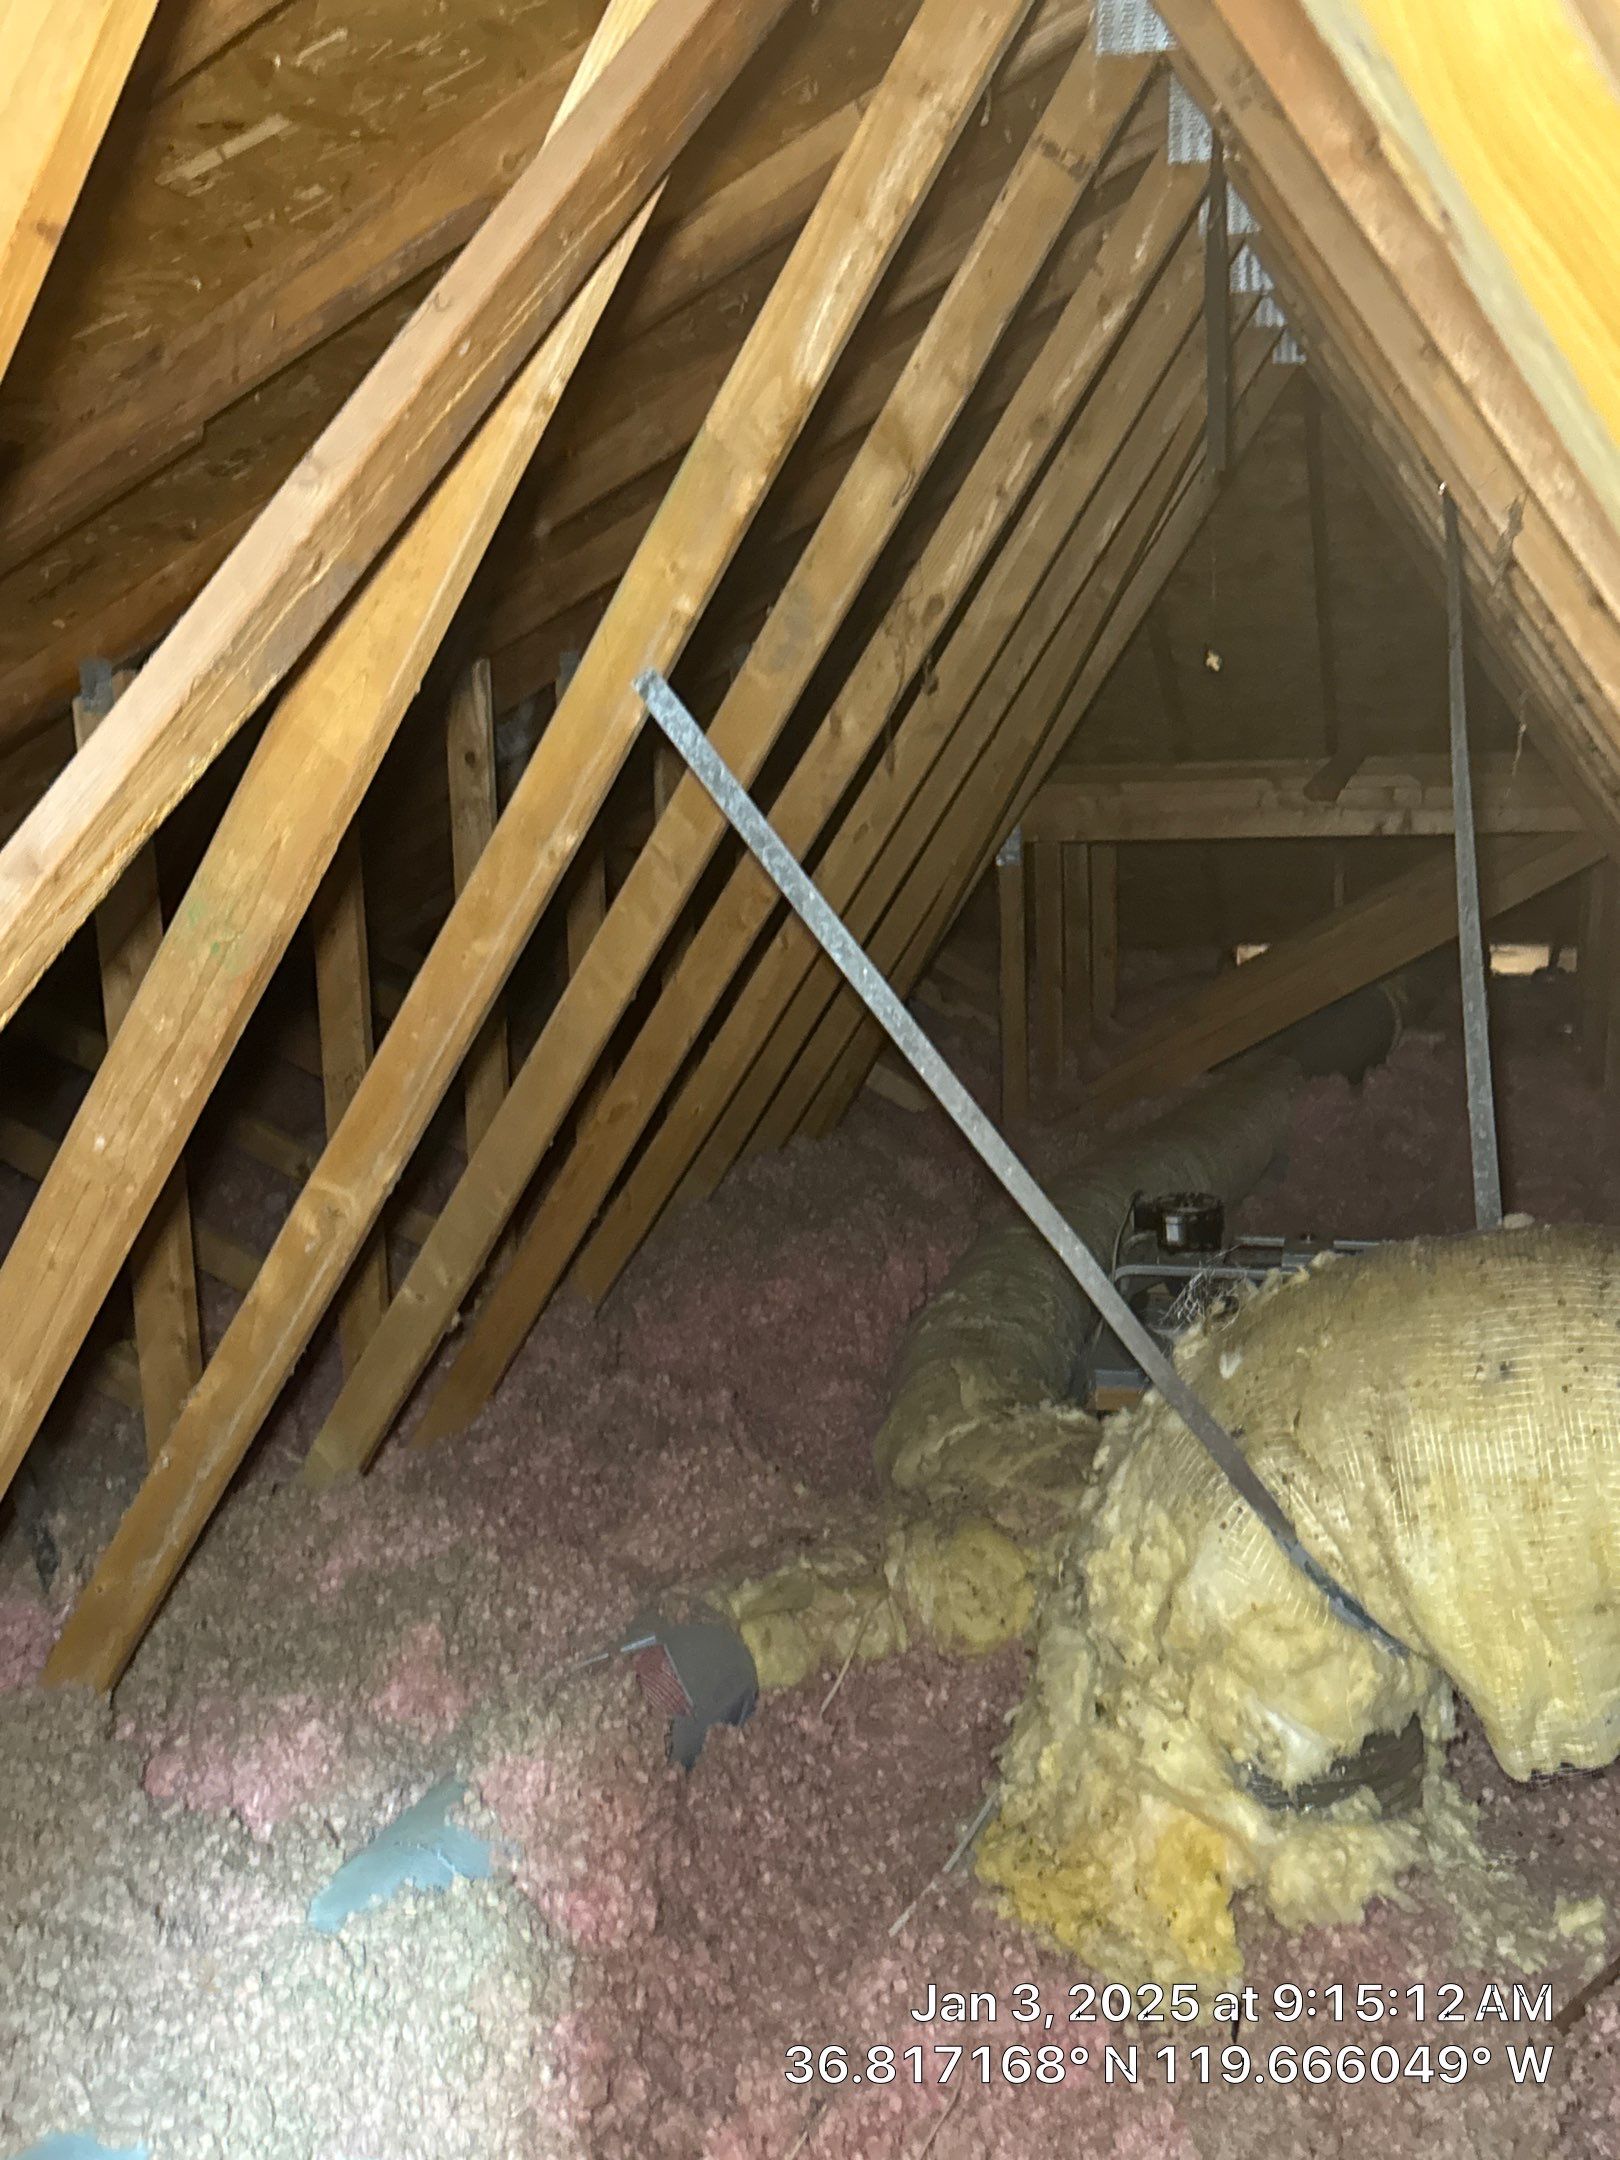
Dan reached out to us because his home in Clovis was struggling to stay comfortable year-round. During our inspection, we discovered that his attic only had 5 inches of fiberglass insulation—far below the recommended level for optimal energy efficiency. The inadequate insulation was causing his HVAC system to work overtime, leading to high energy bills and uneven temperatures throughout his home. To fix these issues, we recommended upgrading his attic insulation to R49.
Here’s how we completed the R49 insulation upgrade:
- Air-sealed visible leakage points using closed-cell foam, including gaps around wiring, plumbing, and registers, to prevent air transfer between the attic and living spaces.
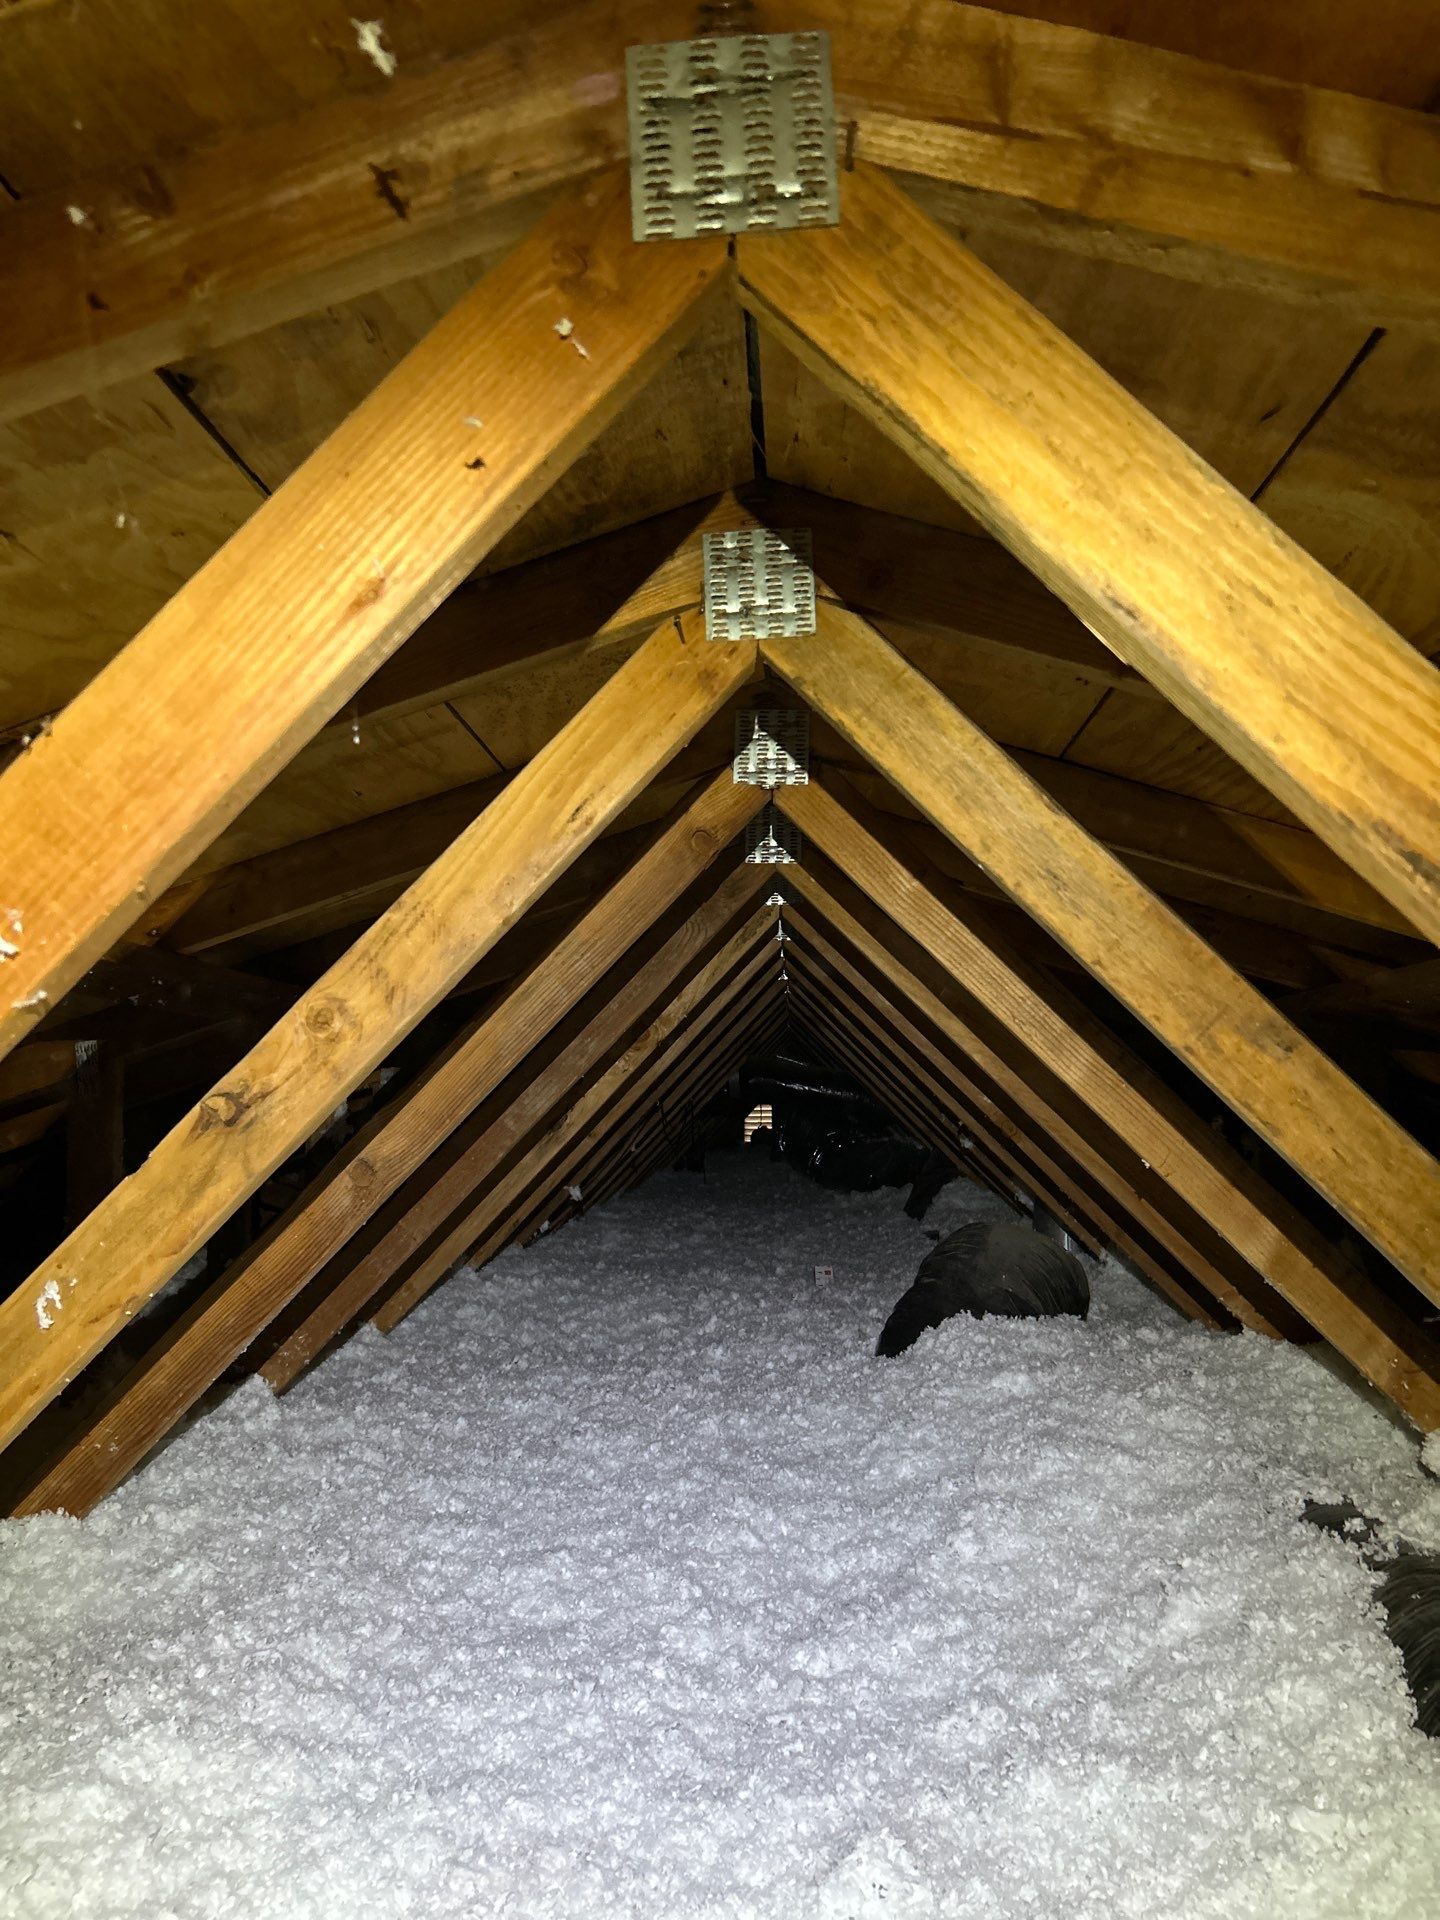
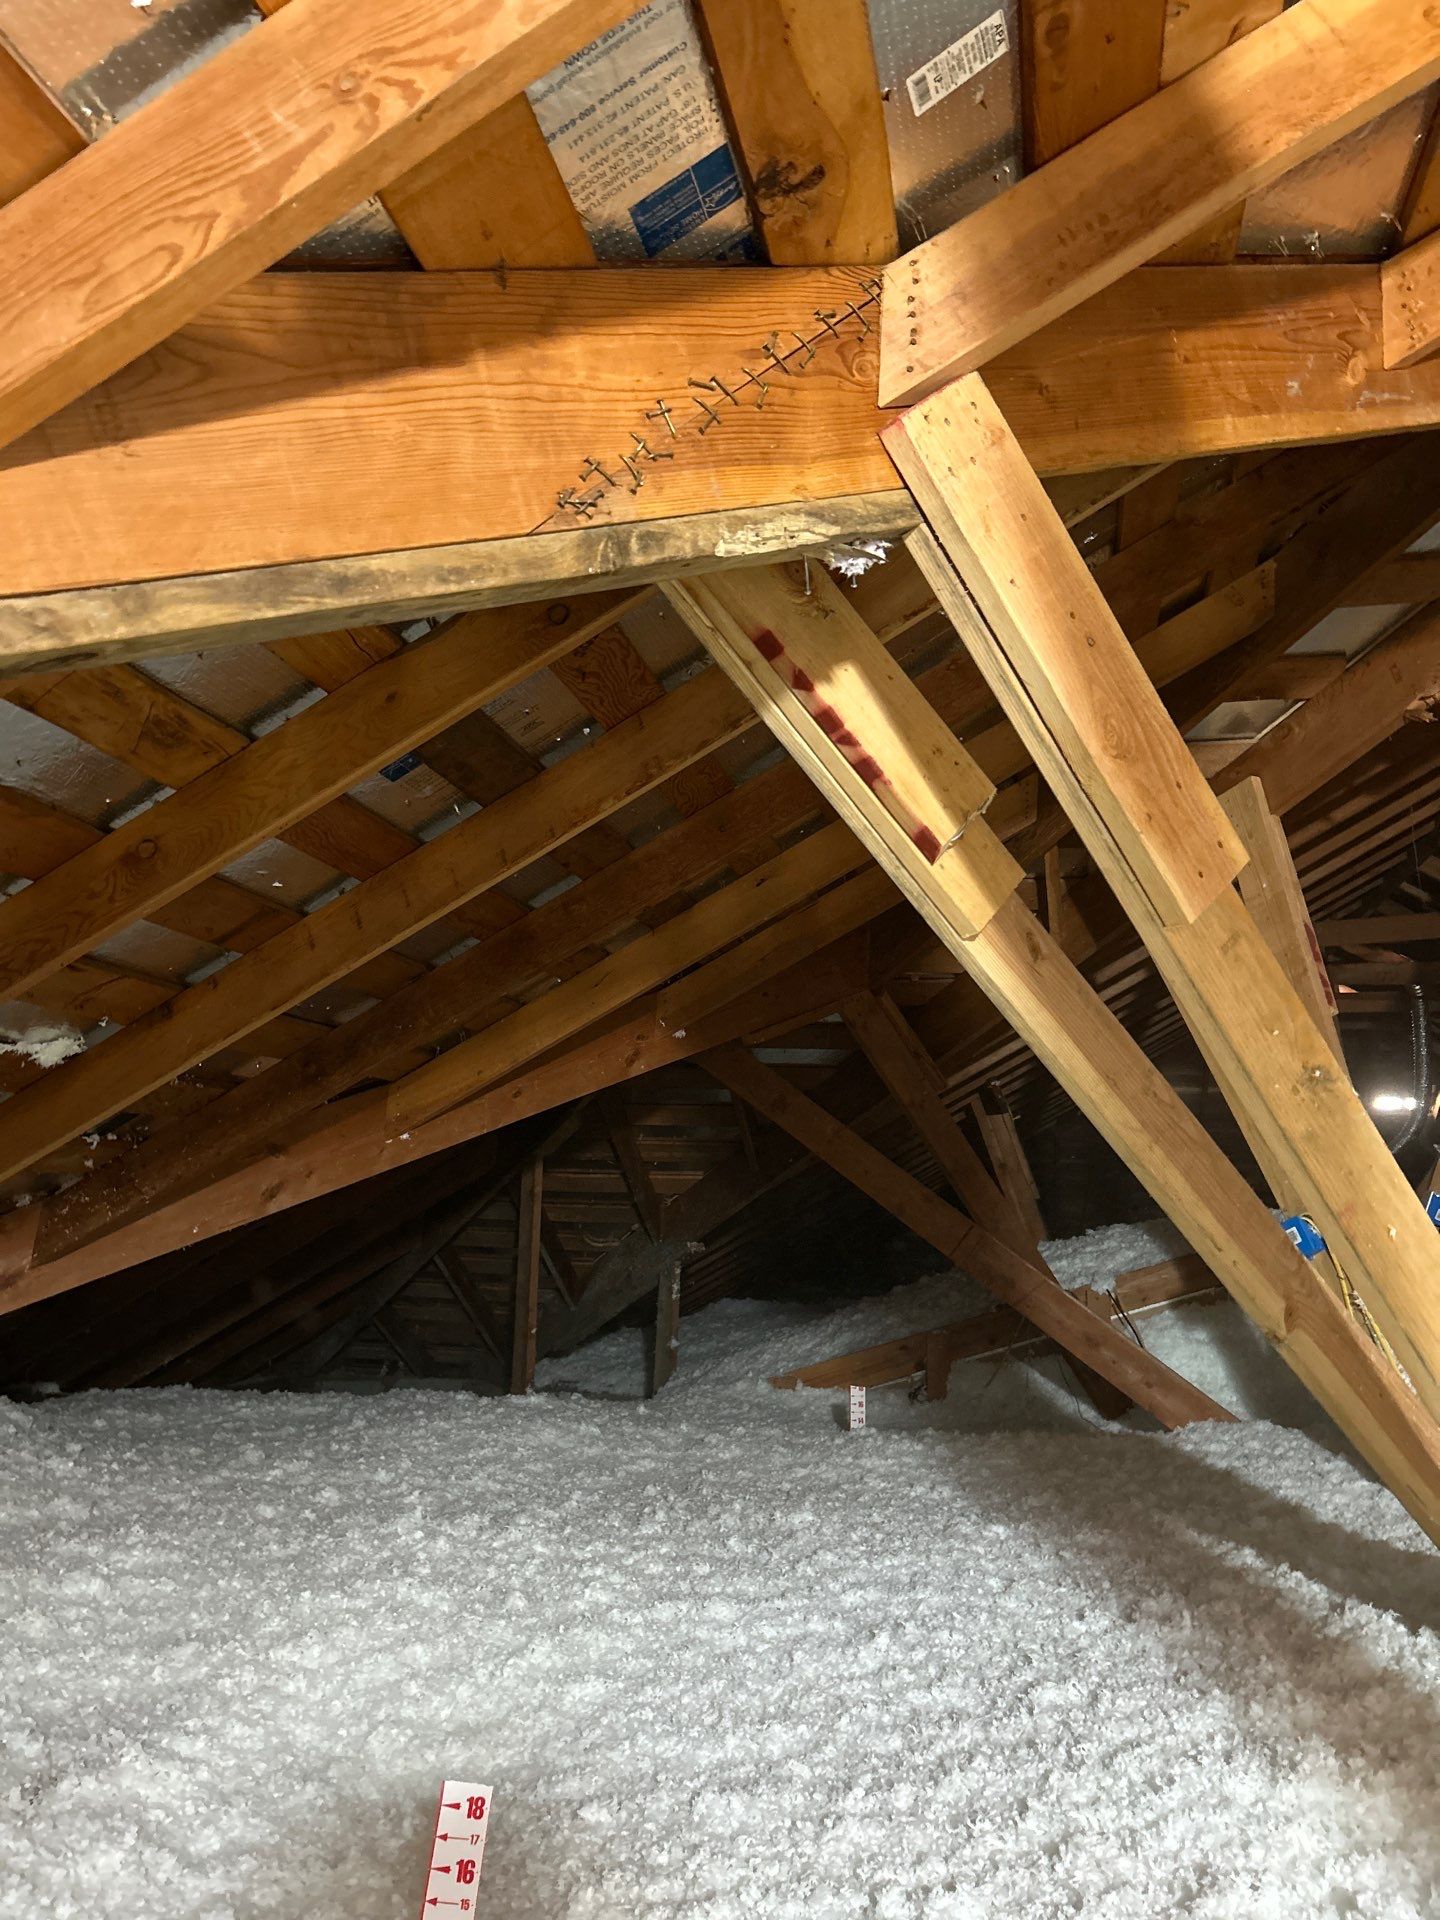
- Blew in premium fiberglass insulation to bring the attic to the R49 level, or 18 inches, ensuring maximum thermal efficiency.
- Provided Dan with before and after photos so he could see the transformation.
As a result of this upgrade, Dan’s home is now more energy-efficient and comfortable throughout the year. His HVAC system no longer has to work as hard, which means lower energy bills and a longer lifespan for his heating and cooling equipment.
Paul contacted us because his home was uncomfortable and energy inefficient, with high heating and cooling bills. Upon inspecting his attic, we found that he actually had 19 inches of old cellulose insulation, which is more than what is recommended for our climate, but that was not performing effectively and was contributing to uneven temperatures and poor air quality in his home. We suspected this was due to air leakage on his attic floor. We recommended a full attic restoration to address these issues and restore comfort and efficiency to his home.
Here’s how we performed the attic restoration:
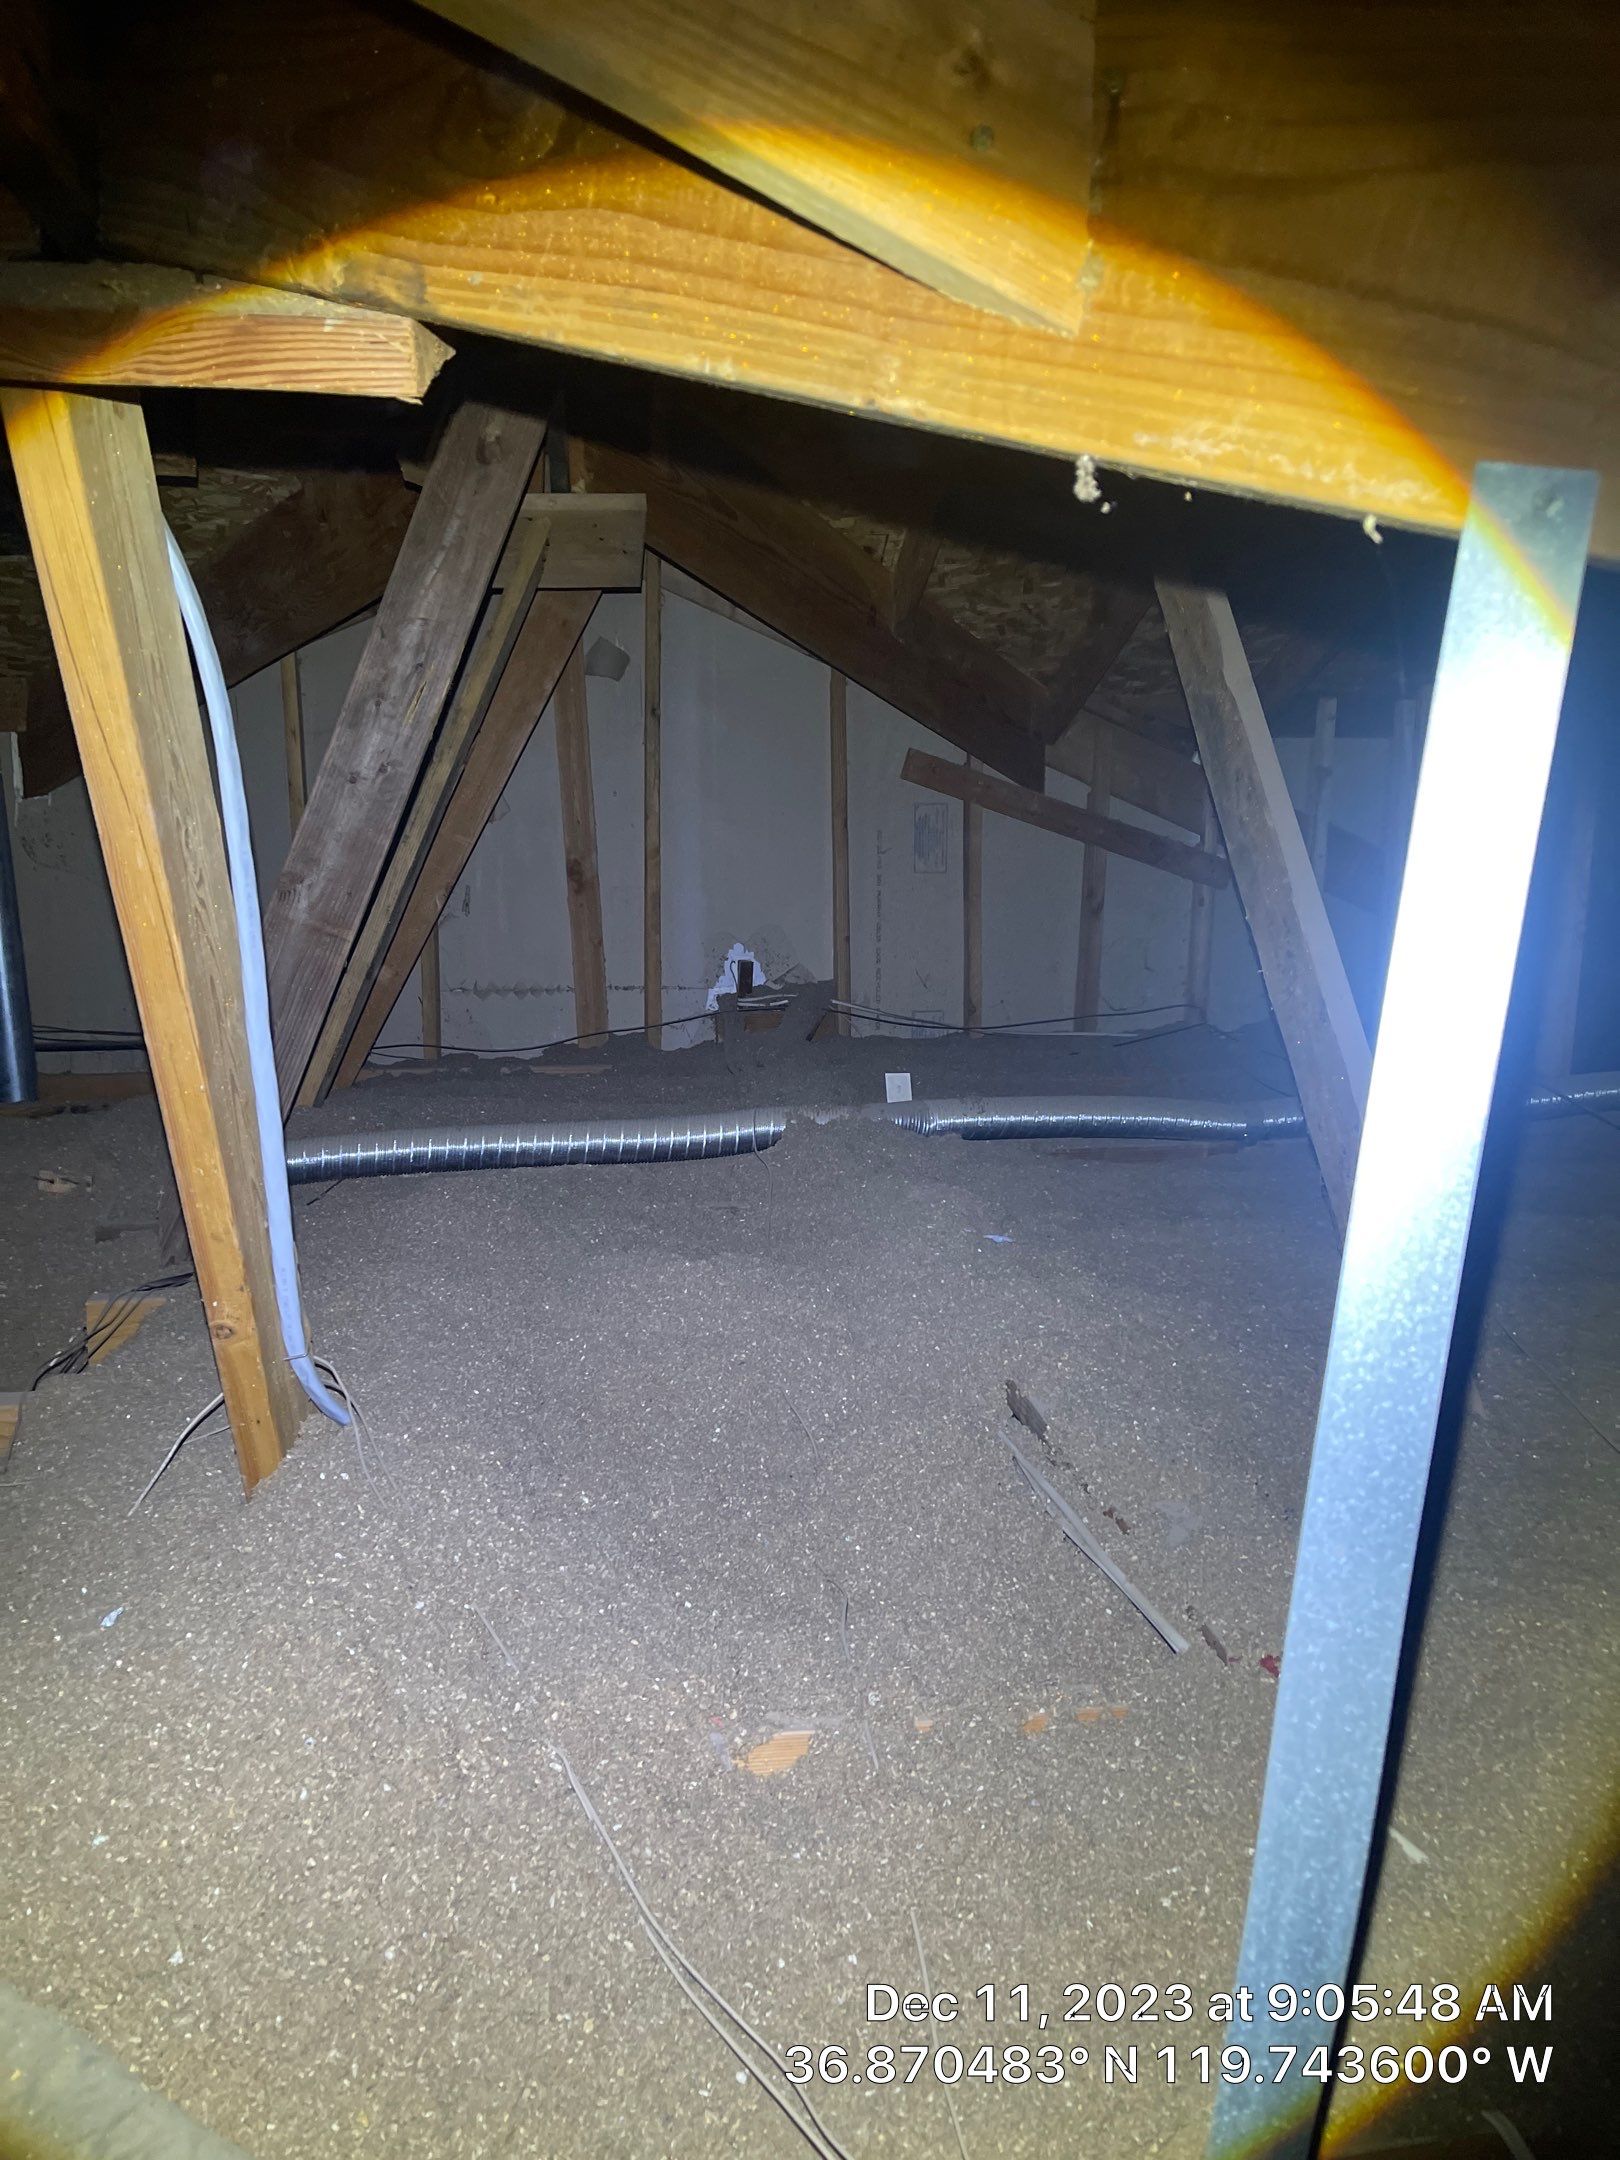
- Vacuumed out the old cellulose insulation, removing dust and contaminants from the attic.
- Sealed all air leakage points with closed-cell foam, including gaps around registers, recessed lights, smoke detectors, plumbing, and wiring.
- Thoroughly cleaned and sanitized the attic with Nisus DSV disinfectant to eliminate irritants and odors.
- Installed rodent-proof barriers to prevent pests from entering the attic.
- Blew in premium fiberglass insulation to achieve an R38 level for improved energy efficiency.
- Provided Paul with before and after photos to highlight the dramatic improvement.
Thanks to this comprehensive restoration, Paul’s home is now more energy-efficient, with balanced temperatures throughout and noticeably improved indoor air quality. He will also enjoy lower energy bills and a healthier home environment for years to come.
Rachel reached out to us seeking a solution to the uncomfortable conditions in her home, including uneven temperatures and poor air quality. Upon inspection, we discovered the root cause: her attic only had about 5 inches of old cellulose insulation. The insufficient and dusty insulation was compromising her home’s comfort and indoor air quality. We determined that a full attic restoration was necessary to resolve these issues and ensure her home would be comfortable and energy-efficient.
We completed the attic restoration by following these steps:
- Removed the old, dusty cellulose insulation using a high-powered vacuum to eliminate contaminants.
- Air-sealed the attic with closed-cell foam to close off air leakage points, including top plates, registers, recessed lights, smoke detectors, and plumbing and wiring penetrations.
- Thoroughly cleaned and sanitized the attic using Nisus DSV disinfectant to remove irritants, odors, and potential health hazards.
- Installed rodent-proof barriers at potential entry points to prevent future pest issues.
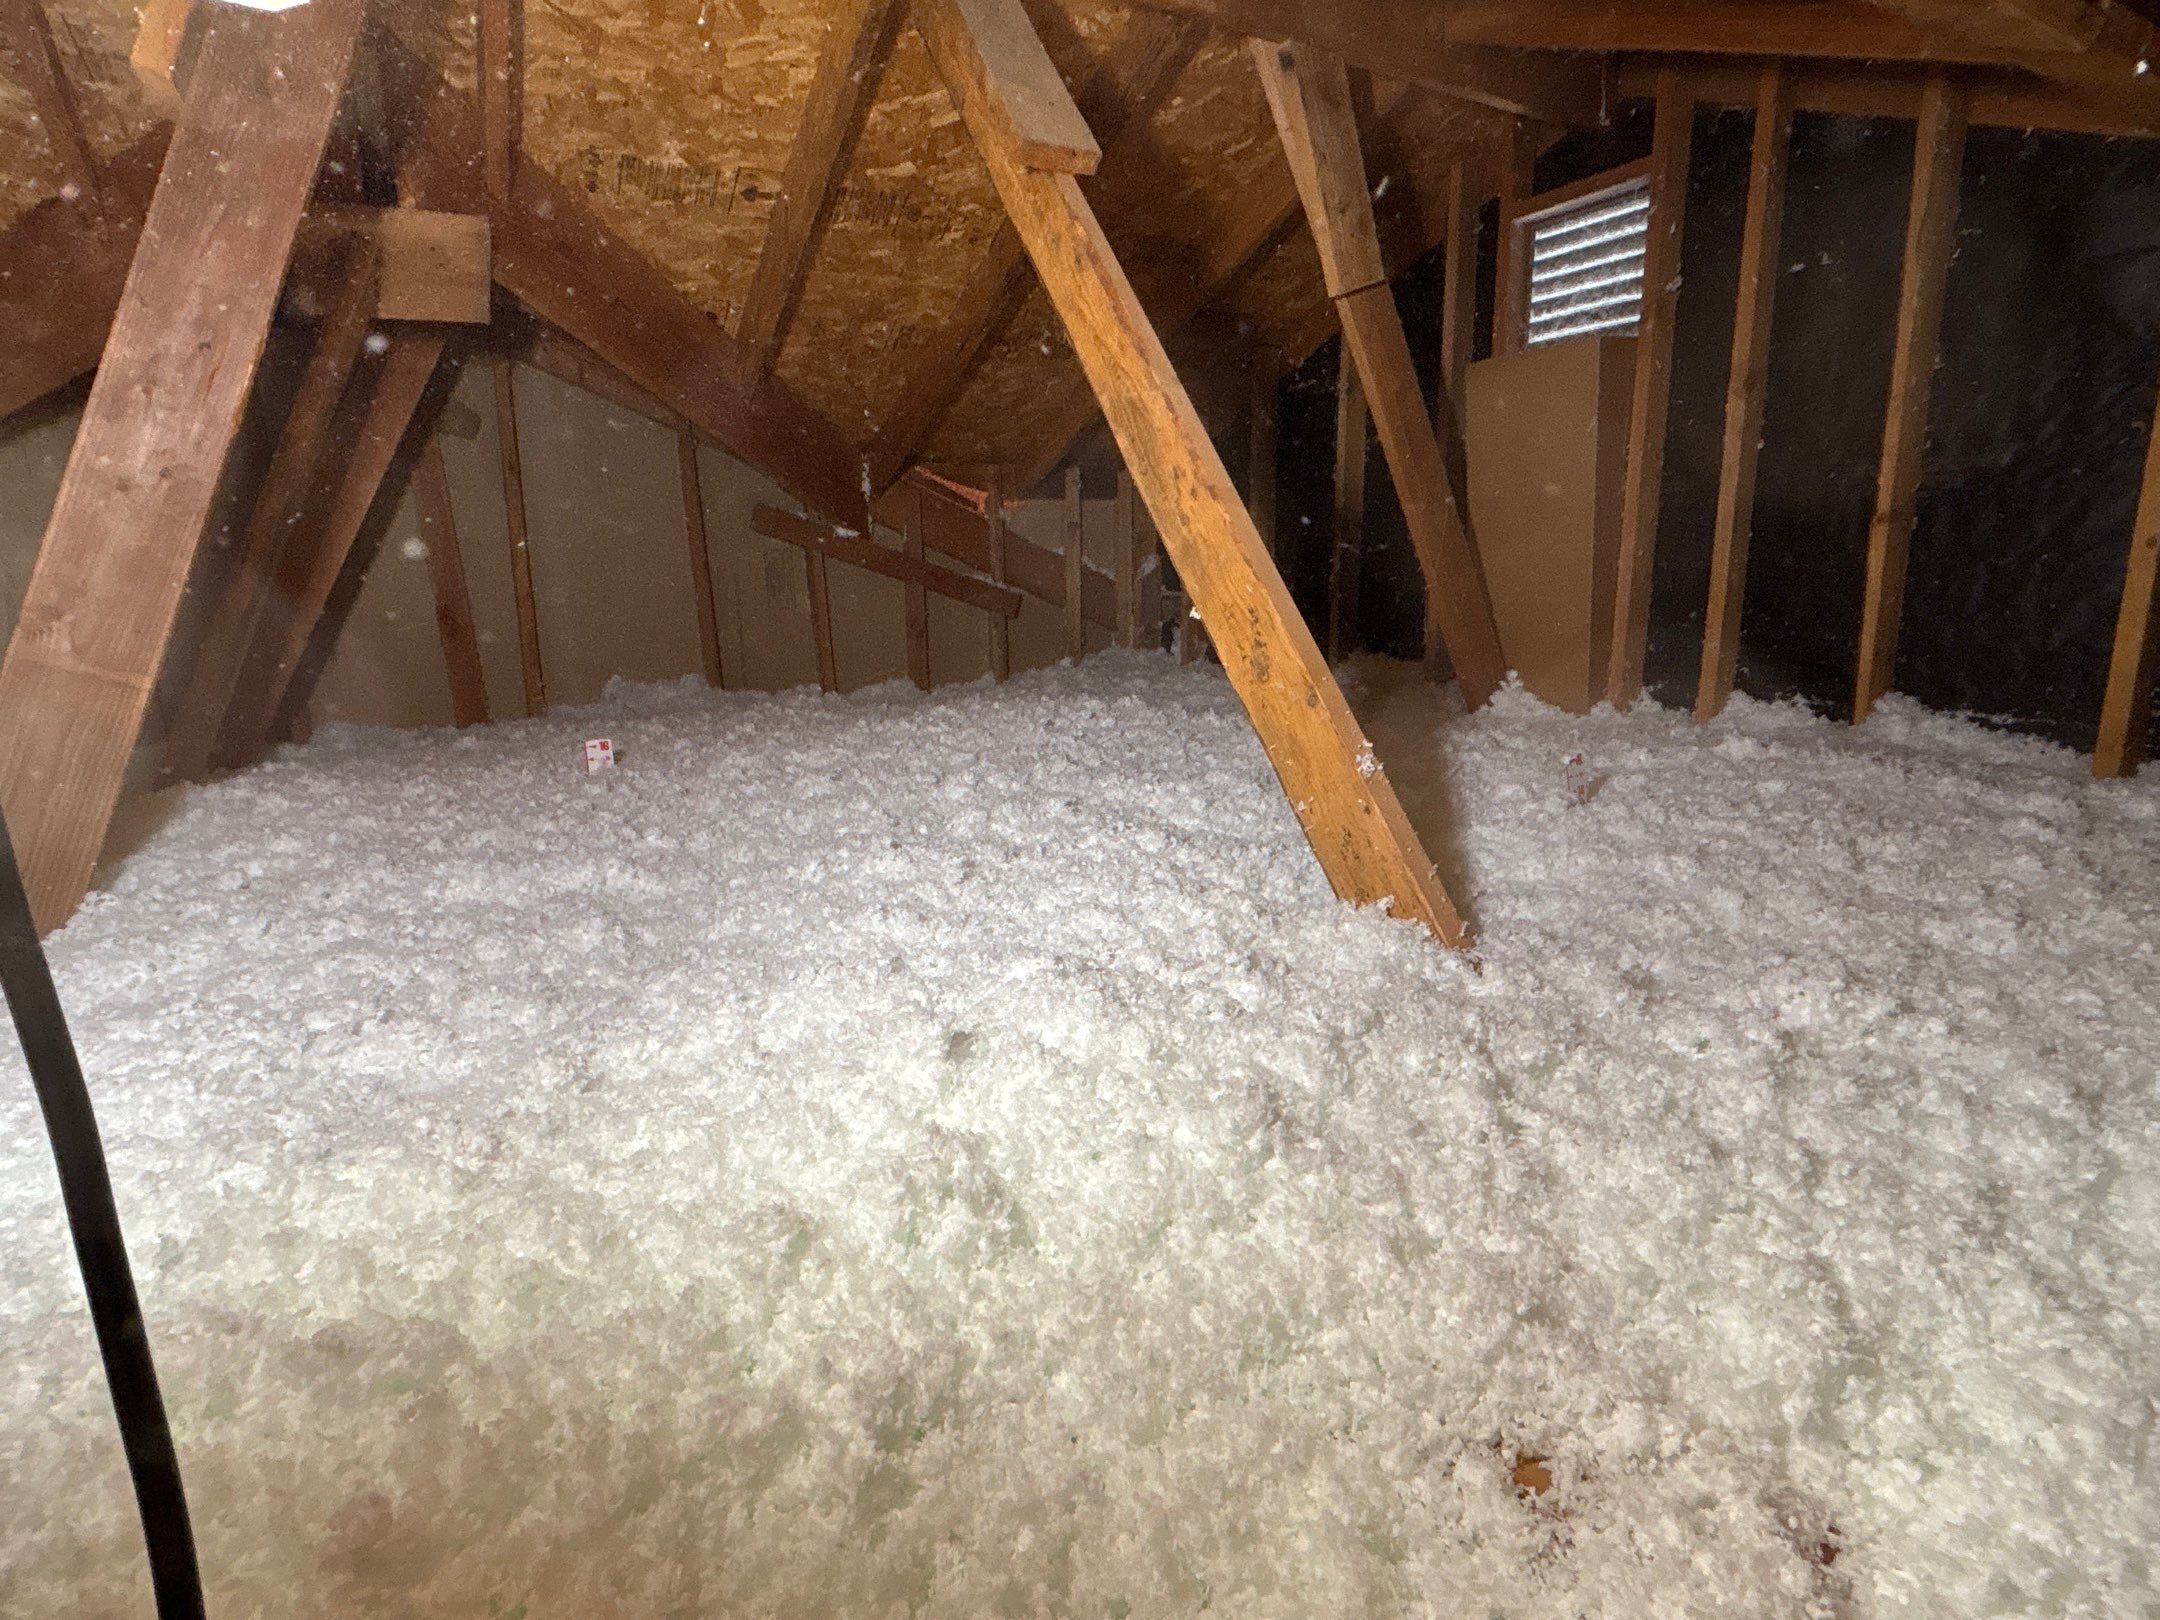
- Blown in premium fiberglass insulation to bring the attic to an R38 level, ensuring optimal energy efficiency.
- Provided Rachel with before and after pictures to demonstrate the transformation.
As a result of this upgrade, Rachel will enjoy a home that is not only more comfortable year-round but also healthier, with improved indoor air quality and reduced heating and cooling costs.

Matt reached out to us because his house was frigid during winter and hot and stuffy during summer. We came out to his Clovis home and inspected his attic, where we found the problem: the attic only had about 5 inches of fiberglass insulation, which was far below recommended levels. We determined that an attic restoration was needed to help him achieve a more comfortable living space and lower energy bills.
We took the following steps to complete the attic restoration:
- Vacuumed out the old fiberglass insulation
- Air-sealed the attic with closed cell foam to eliminate air leakage points, including top plates, registers, recessed lights, smoke detectors, and plumbing and wiring penetrations
- Cleaned and sanitized the attic to remove dust, allergens, and contaminants
- Installed rodent-proof barriers at potential entry points to prevent future infestations
- Blew in premium fiberglass insulation to bring the attic to an R38 level
- Provided Matt with before and after pictures
- Informed Matt about our 6-month rodent re-entry guarantee
As a result of the upgrade we performed, Matt will enjoy a more comfortable home with improved indoor air quality, consistent temperatures throughout the house, and lower heating and cooling bills for years to come.