Tyson Energy Solutions Before & After Photos
Click on a photo to enlarge.
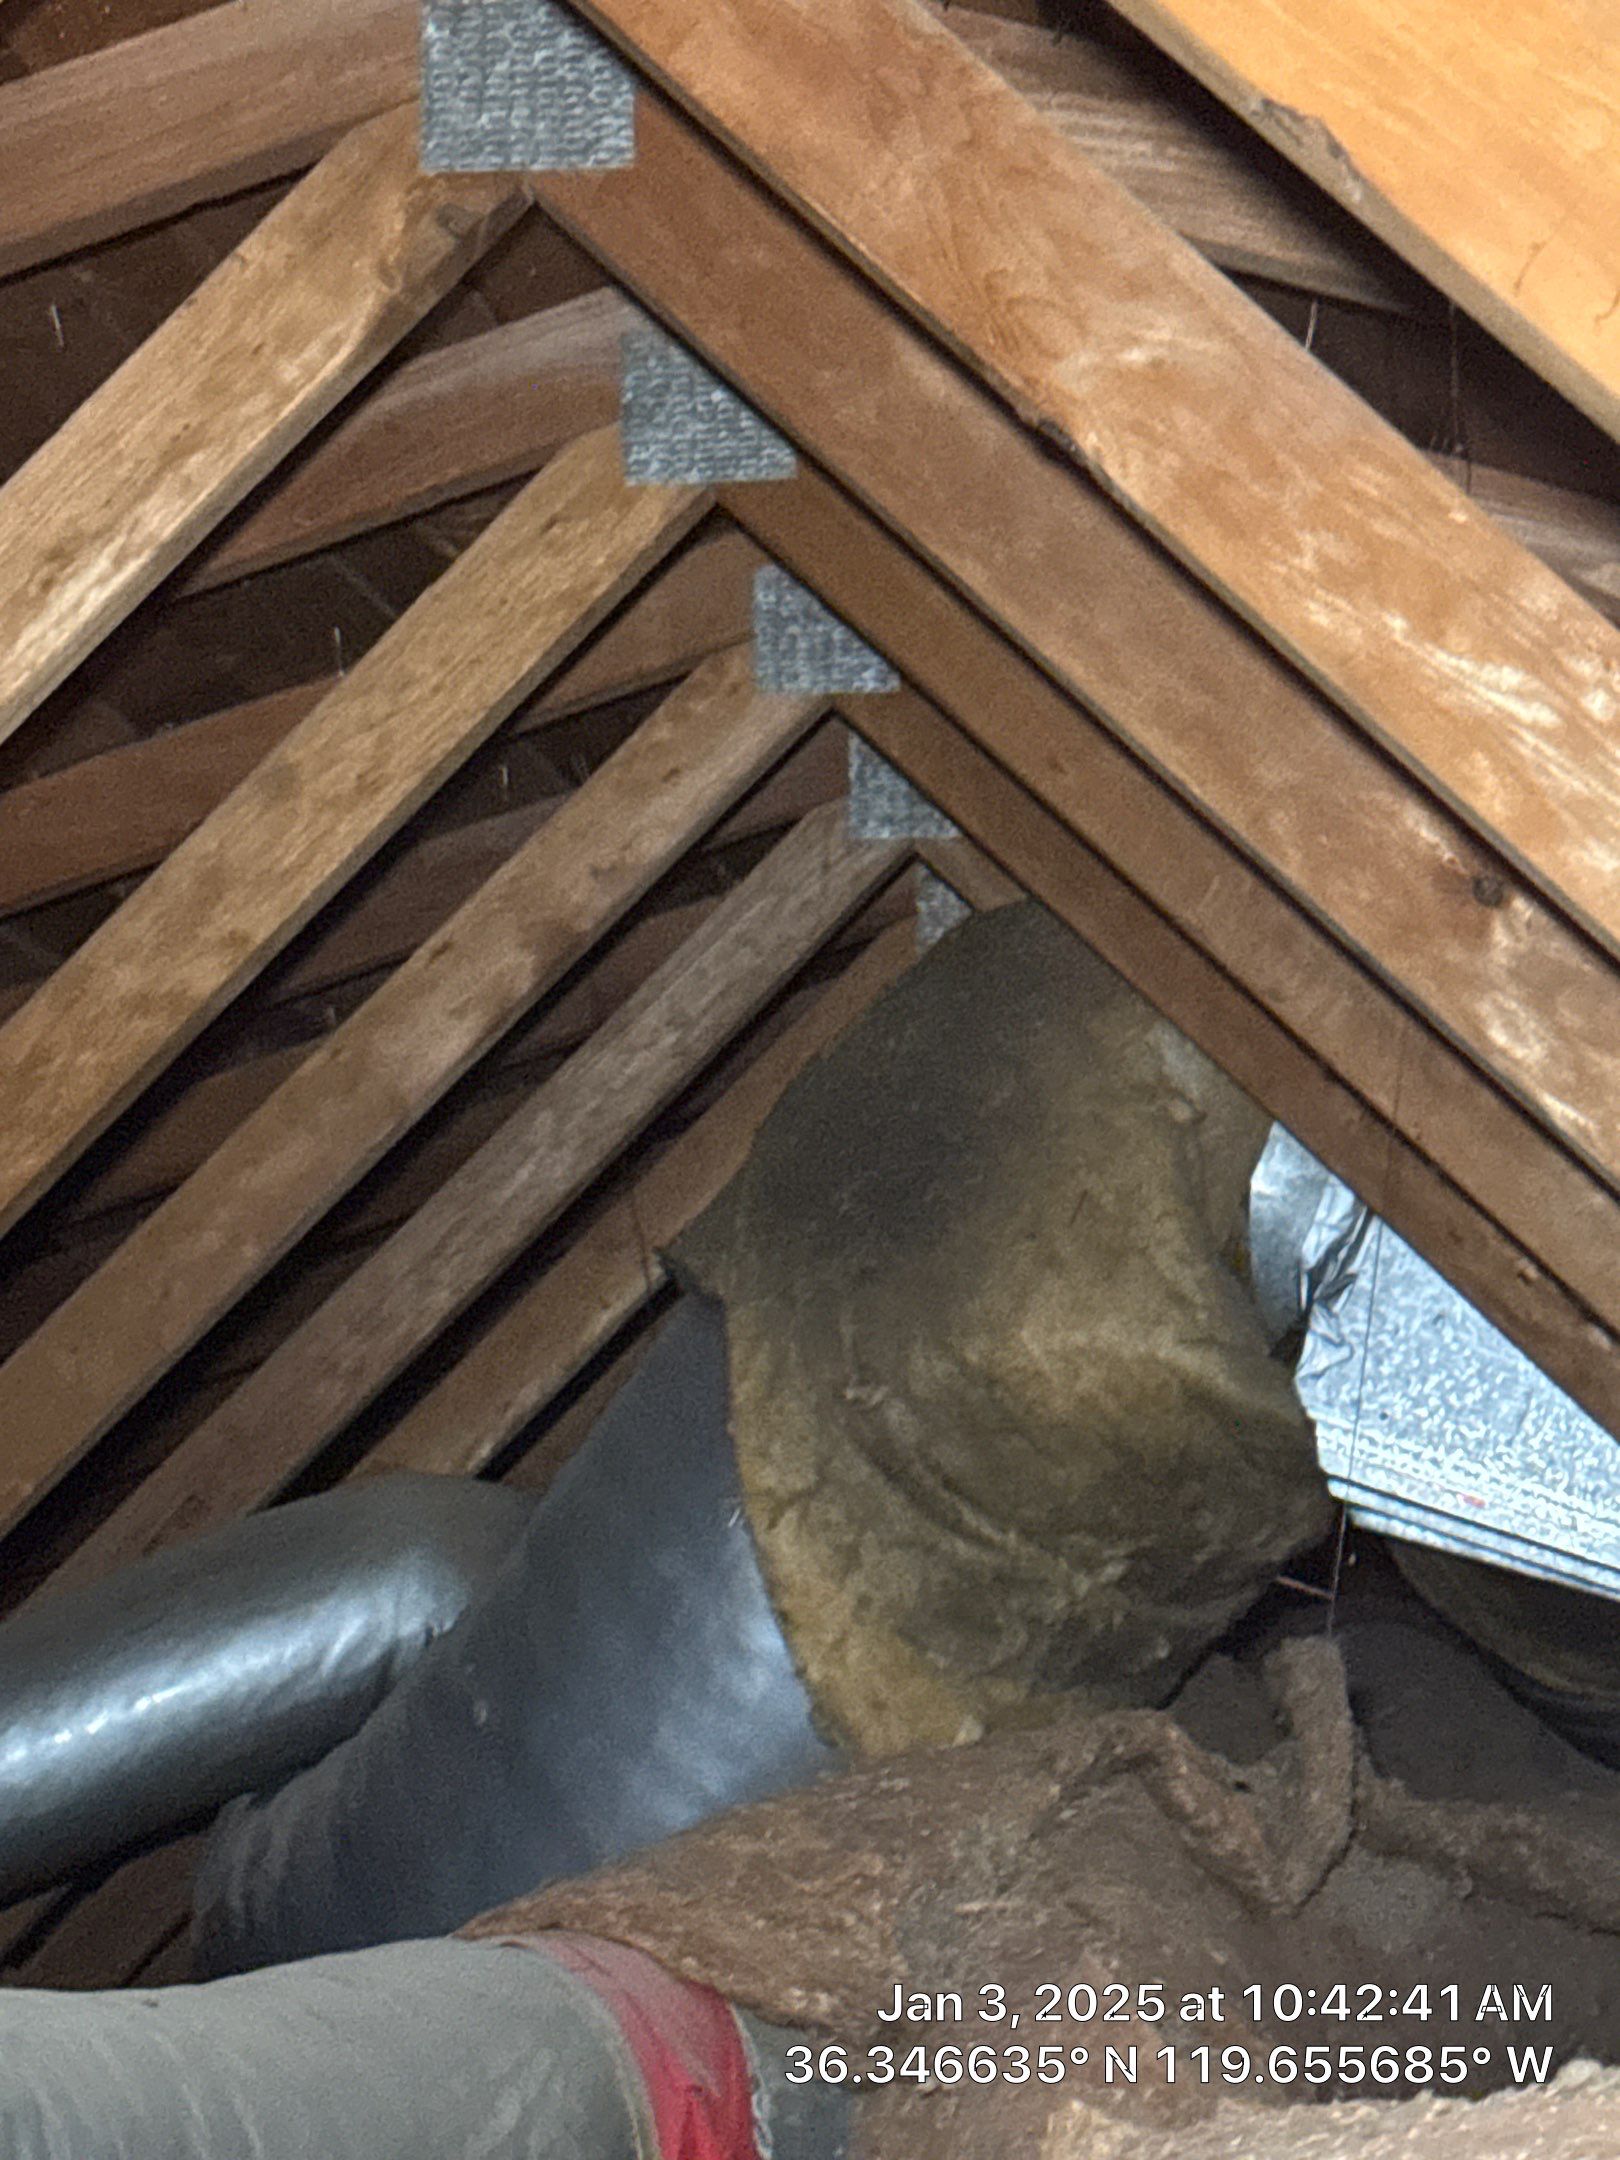
Patricia reached out to us because she was dealing with poor air quality and an excessive amount of dust in her home. After a detailed attic inspection, we identified the issue: only four inches of old, dirty cellulose insulation remained in the attic. This degraded insulation was no longer providing adequate coverage and contributed to the dust and allergens circulating in her home. We recommended a comprehensive attic restoration to resolve these concerns.
Here’s how we completed the attic restoration:
- We began by vacuuming out the old, dirty cellulose insulation to eliminate accumulated dust and contaminants.
- Then, we air-sealed all potential leakage points, including top plates, registers, recessed lights, and plumbing and wiring penetrations, using closed-cell foam to prevent air leakage.
- Following the sealing process, we thoroughly cleaned and sanitized the attic with Nisus DSV disinfectant to remove bacteria, viruses, and unwanted odors.
- To prevent future rodent infestations, we installed rodent-proof barriers at potential entry points.
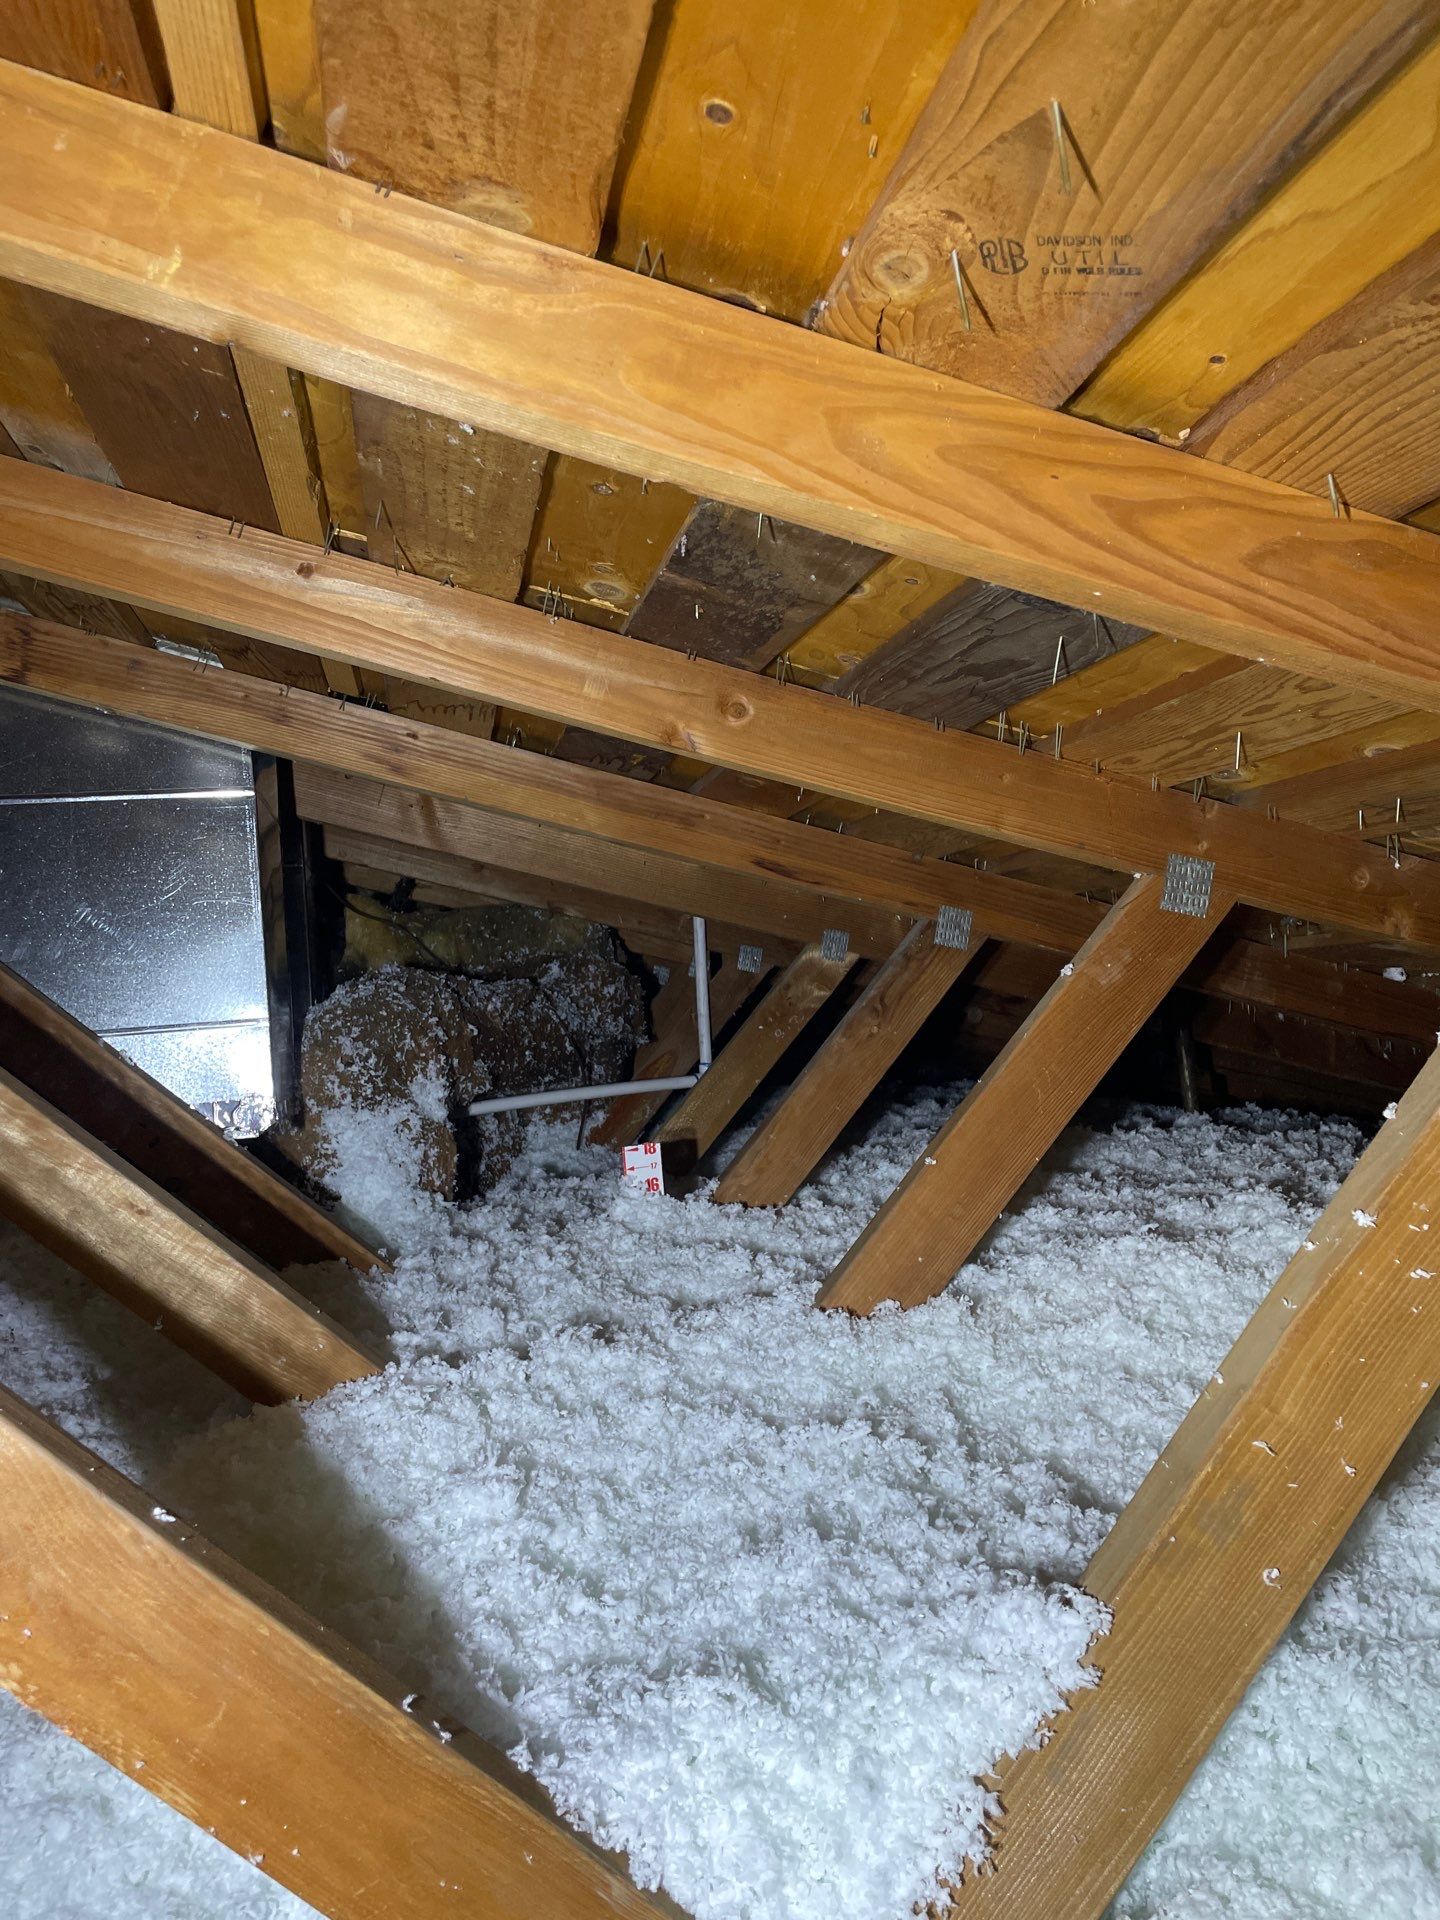
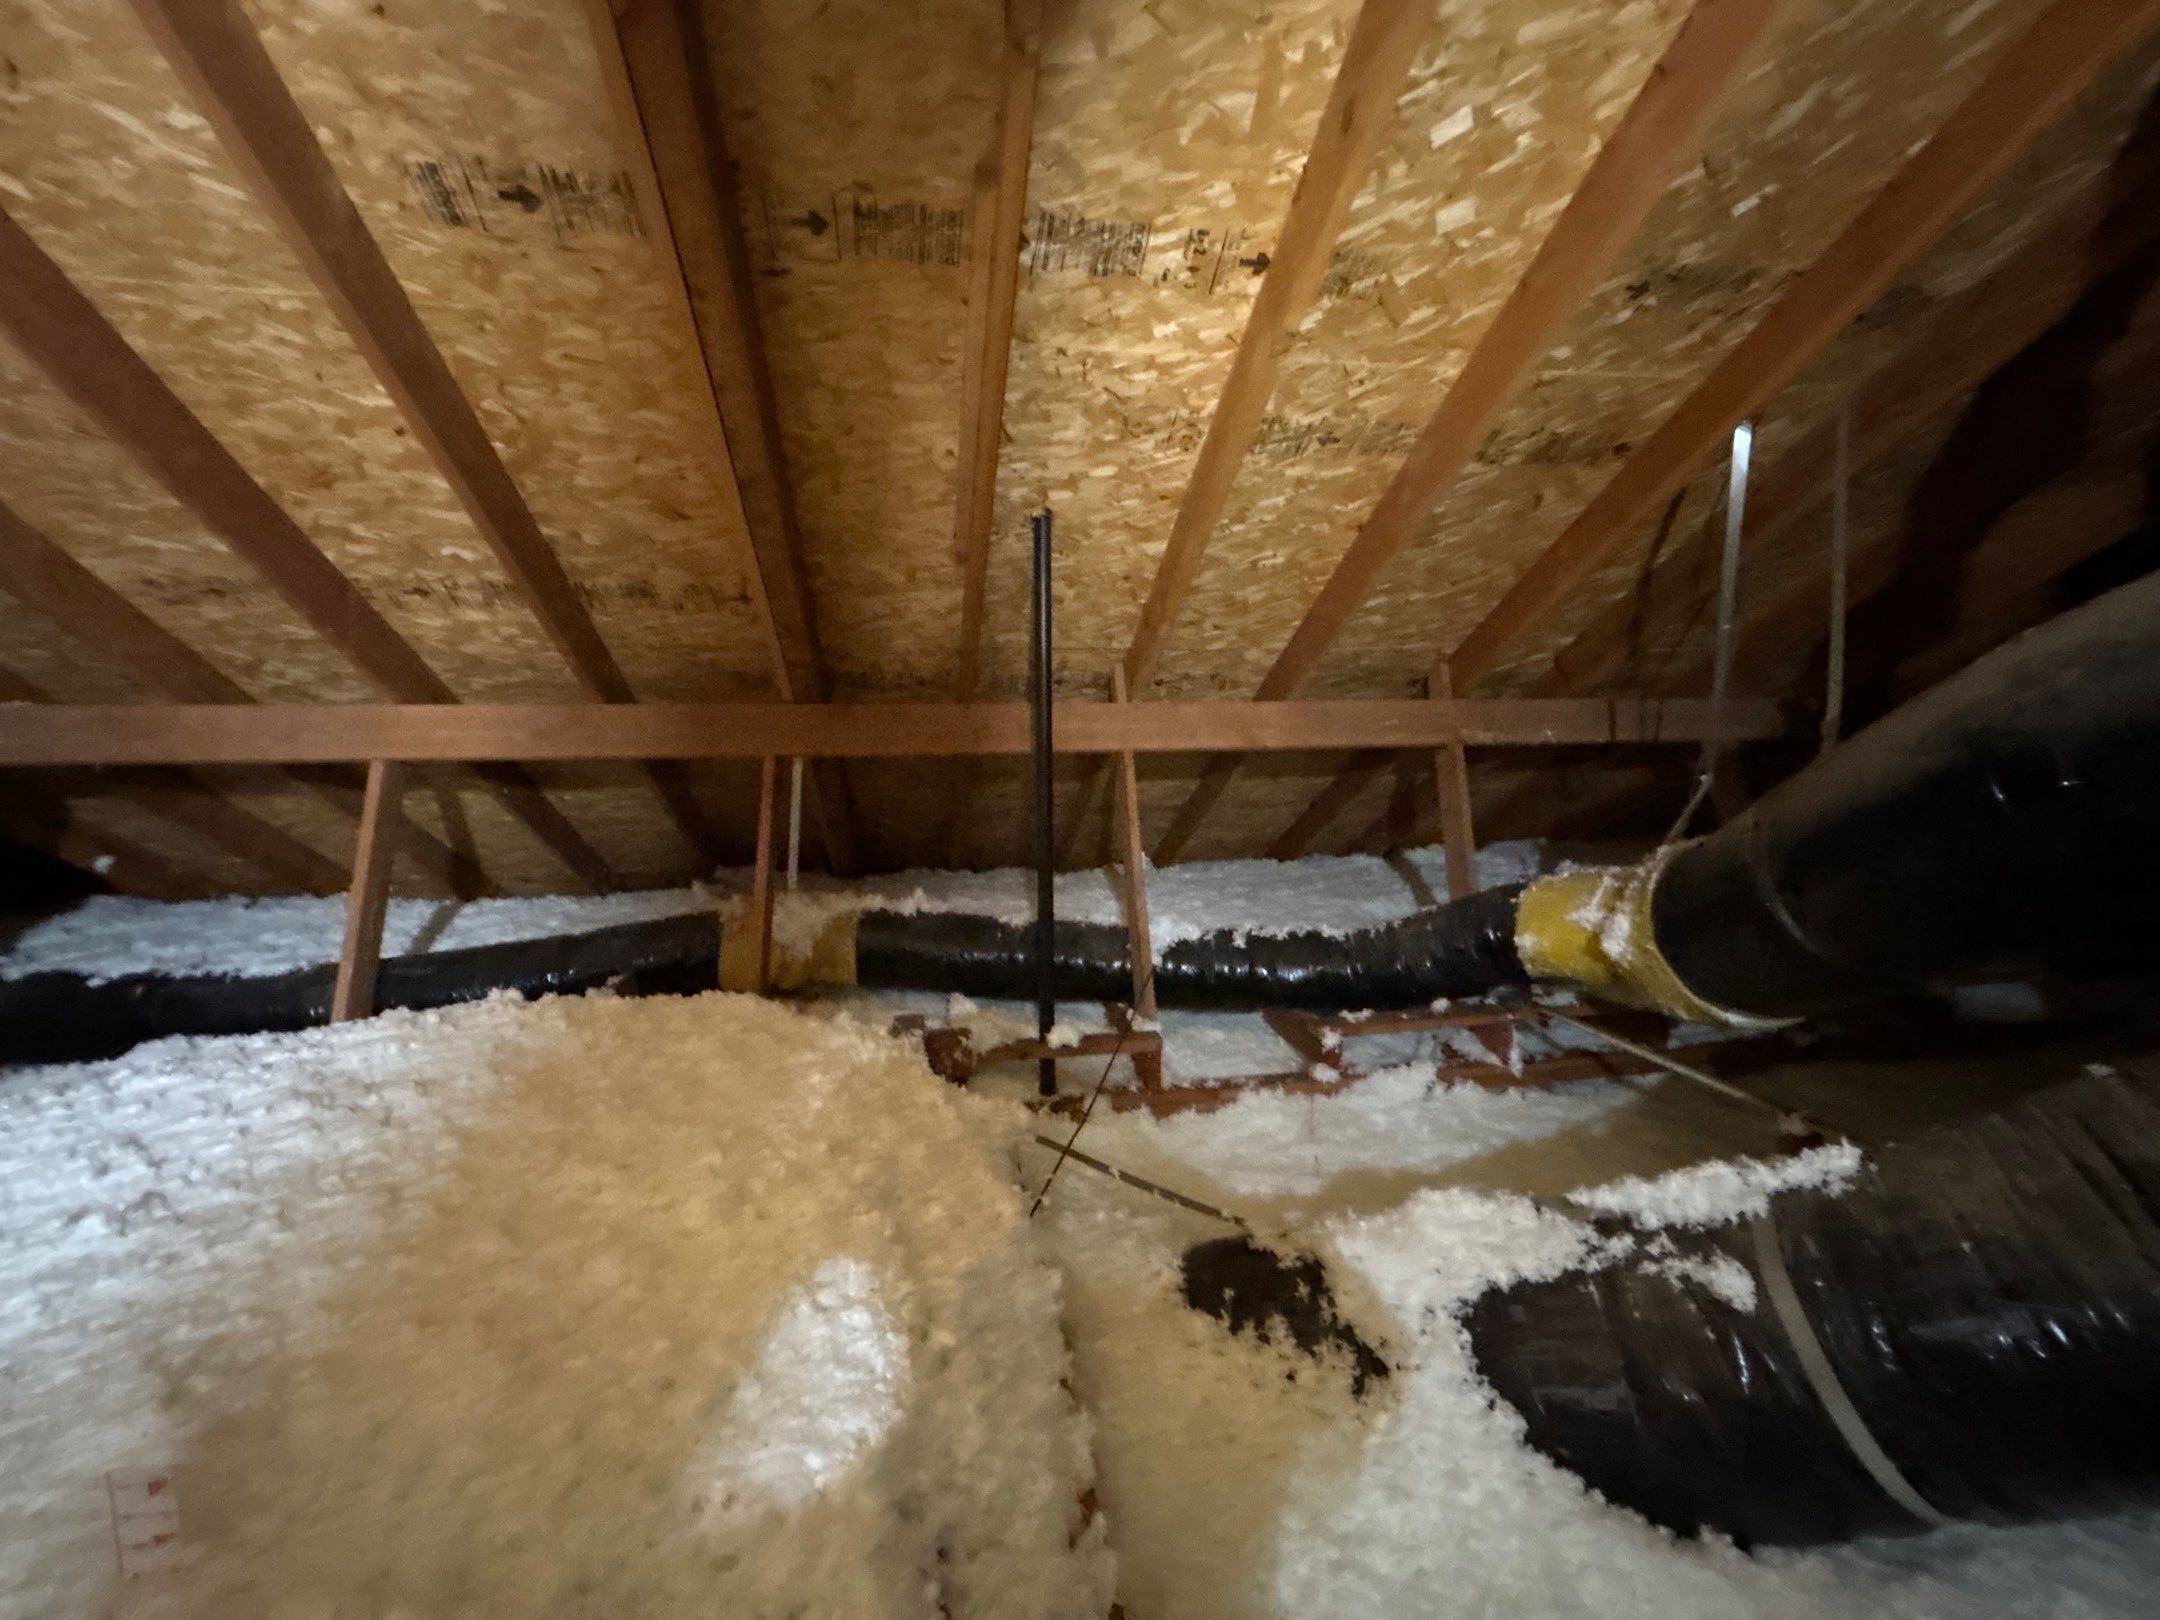
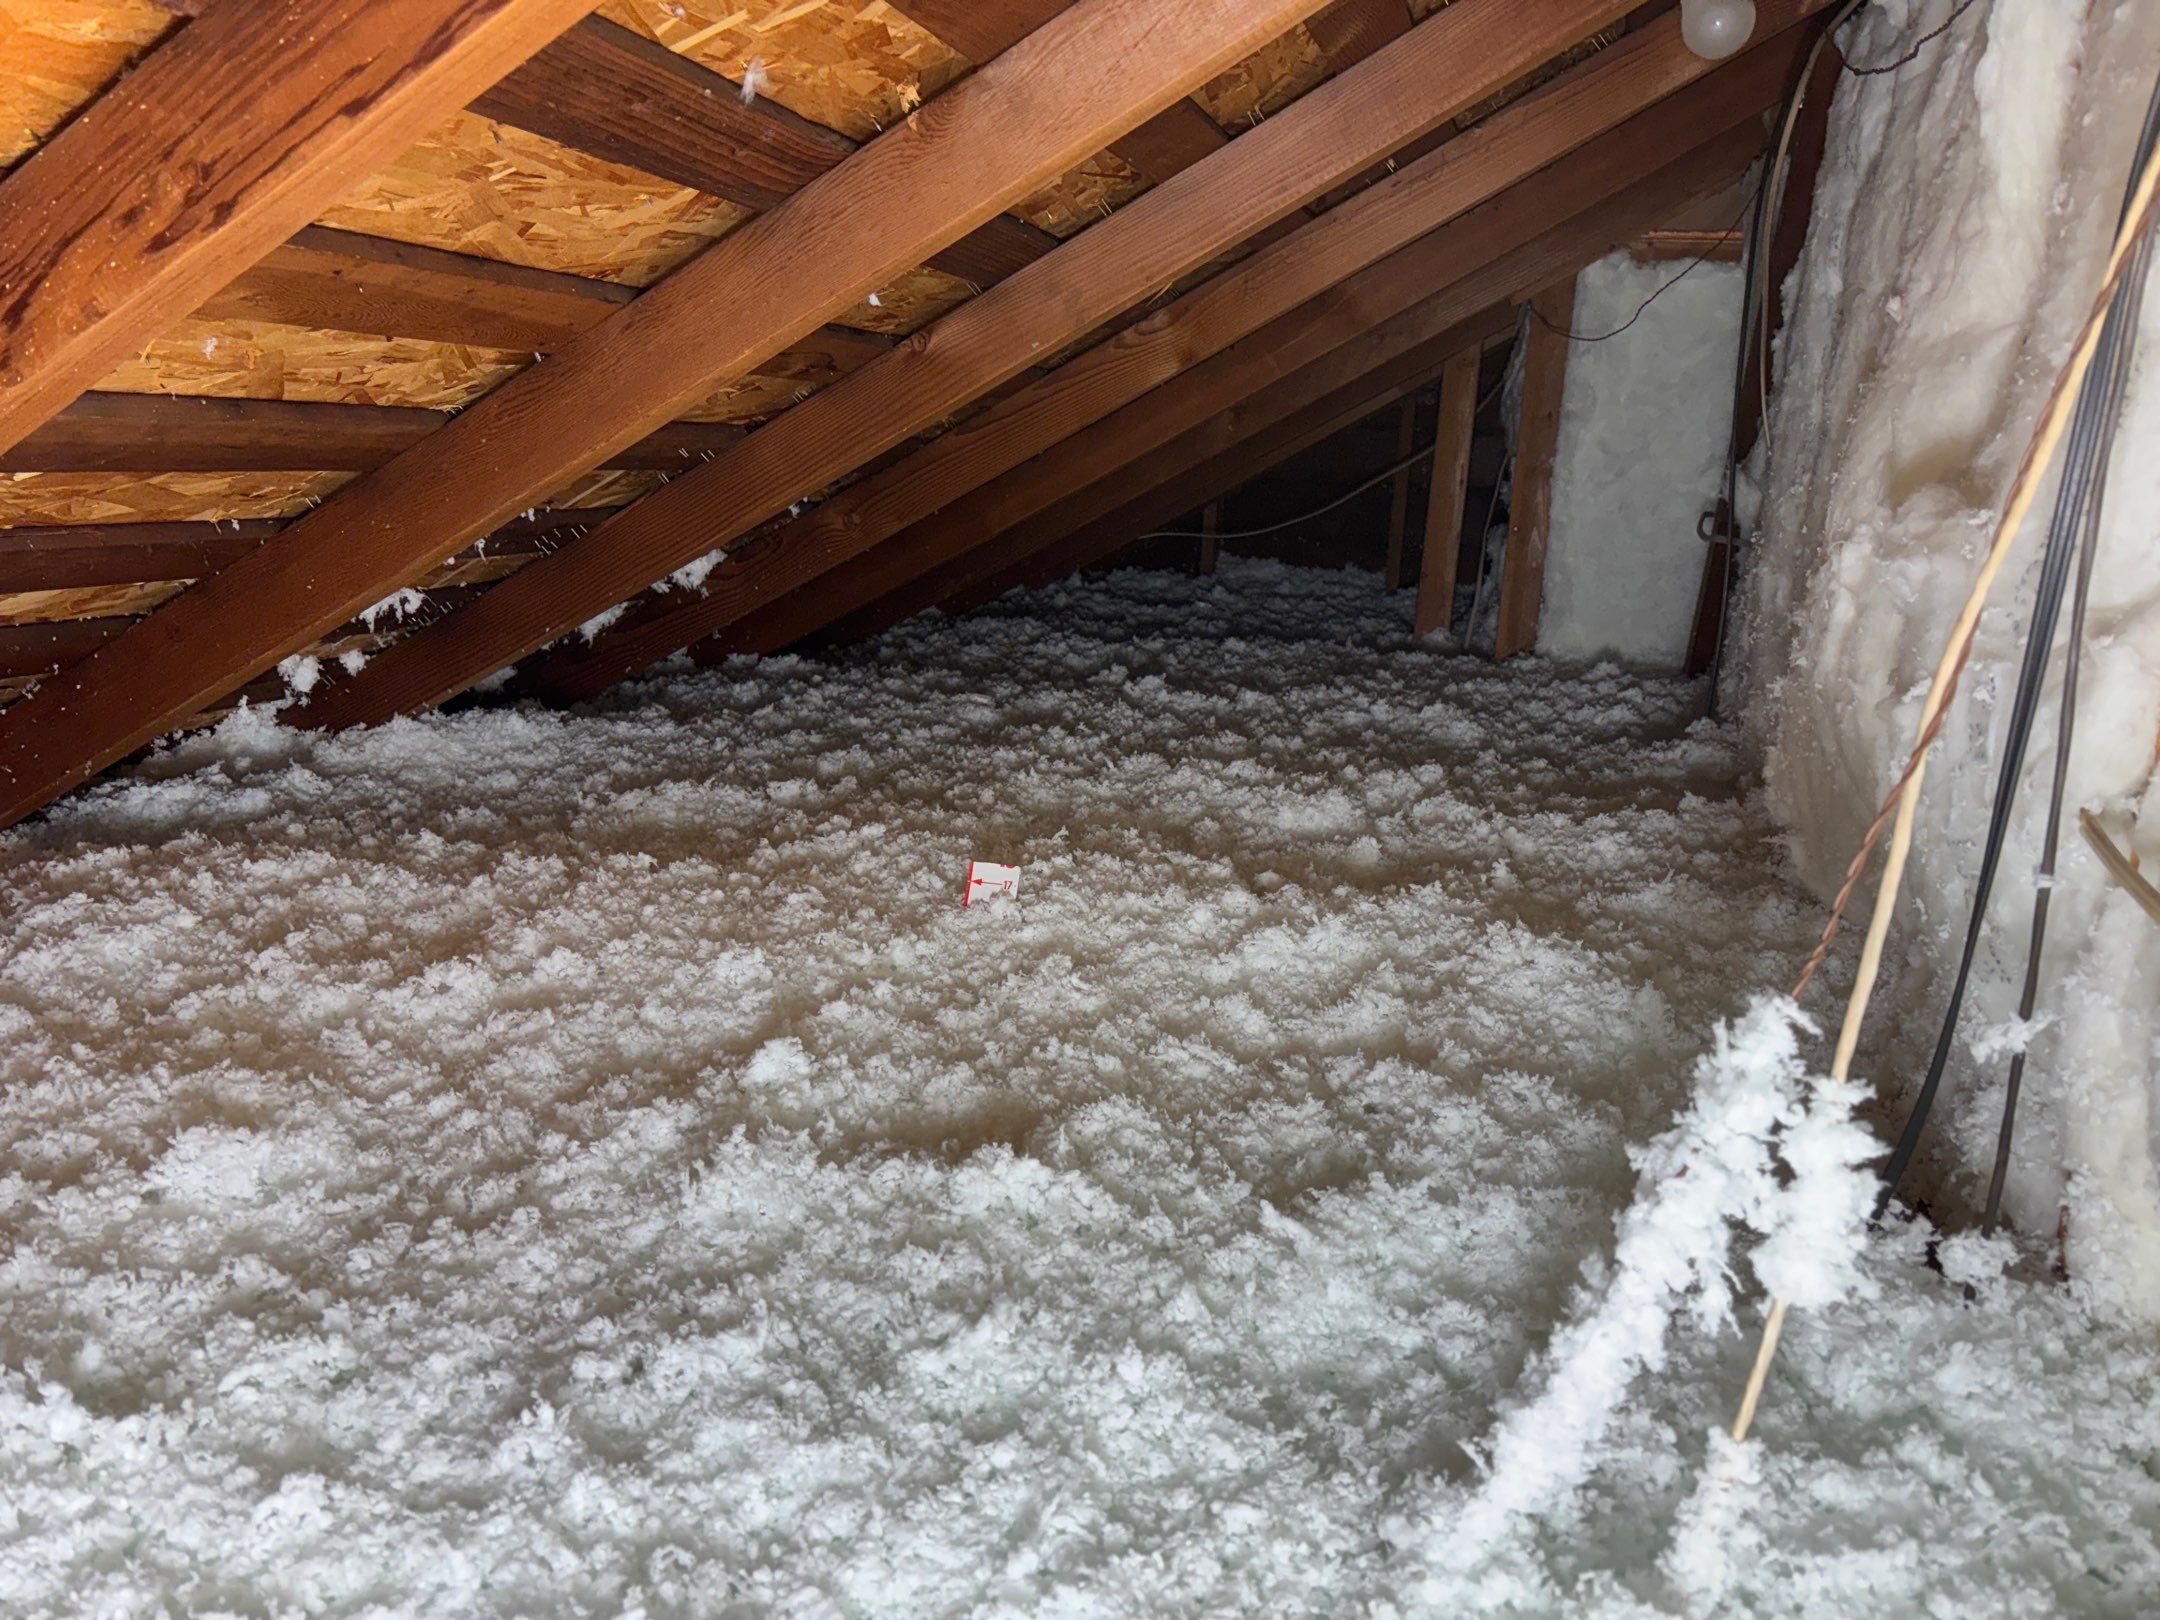
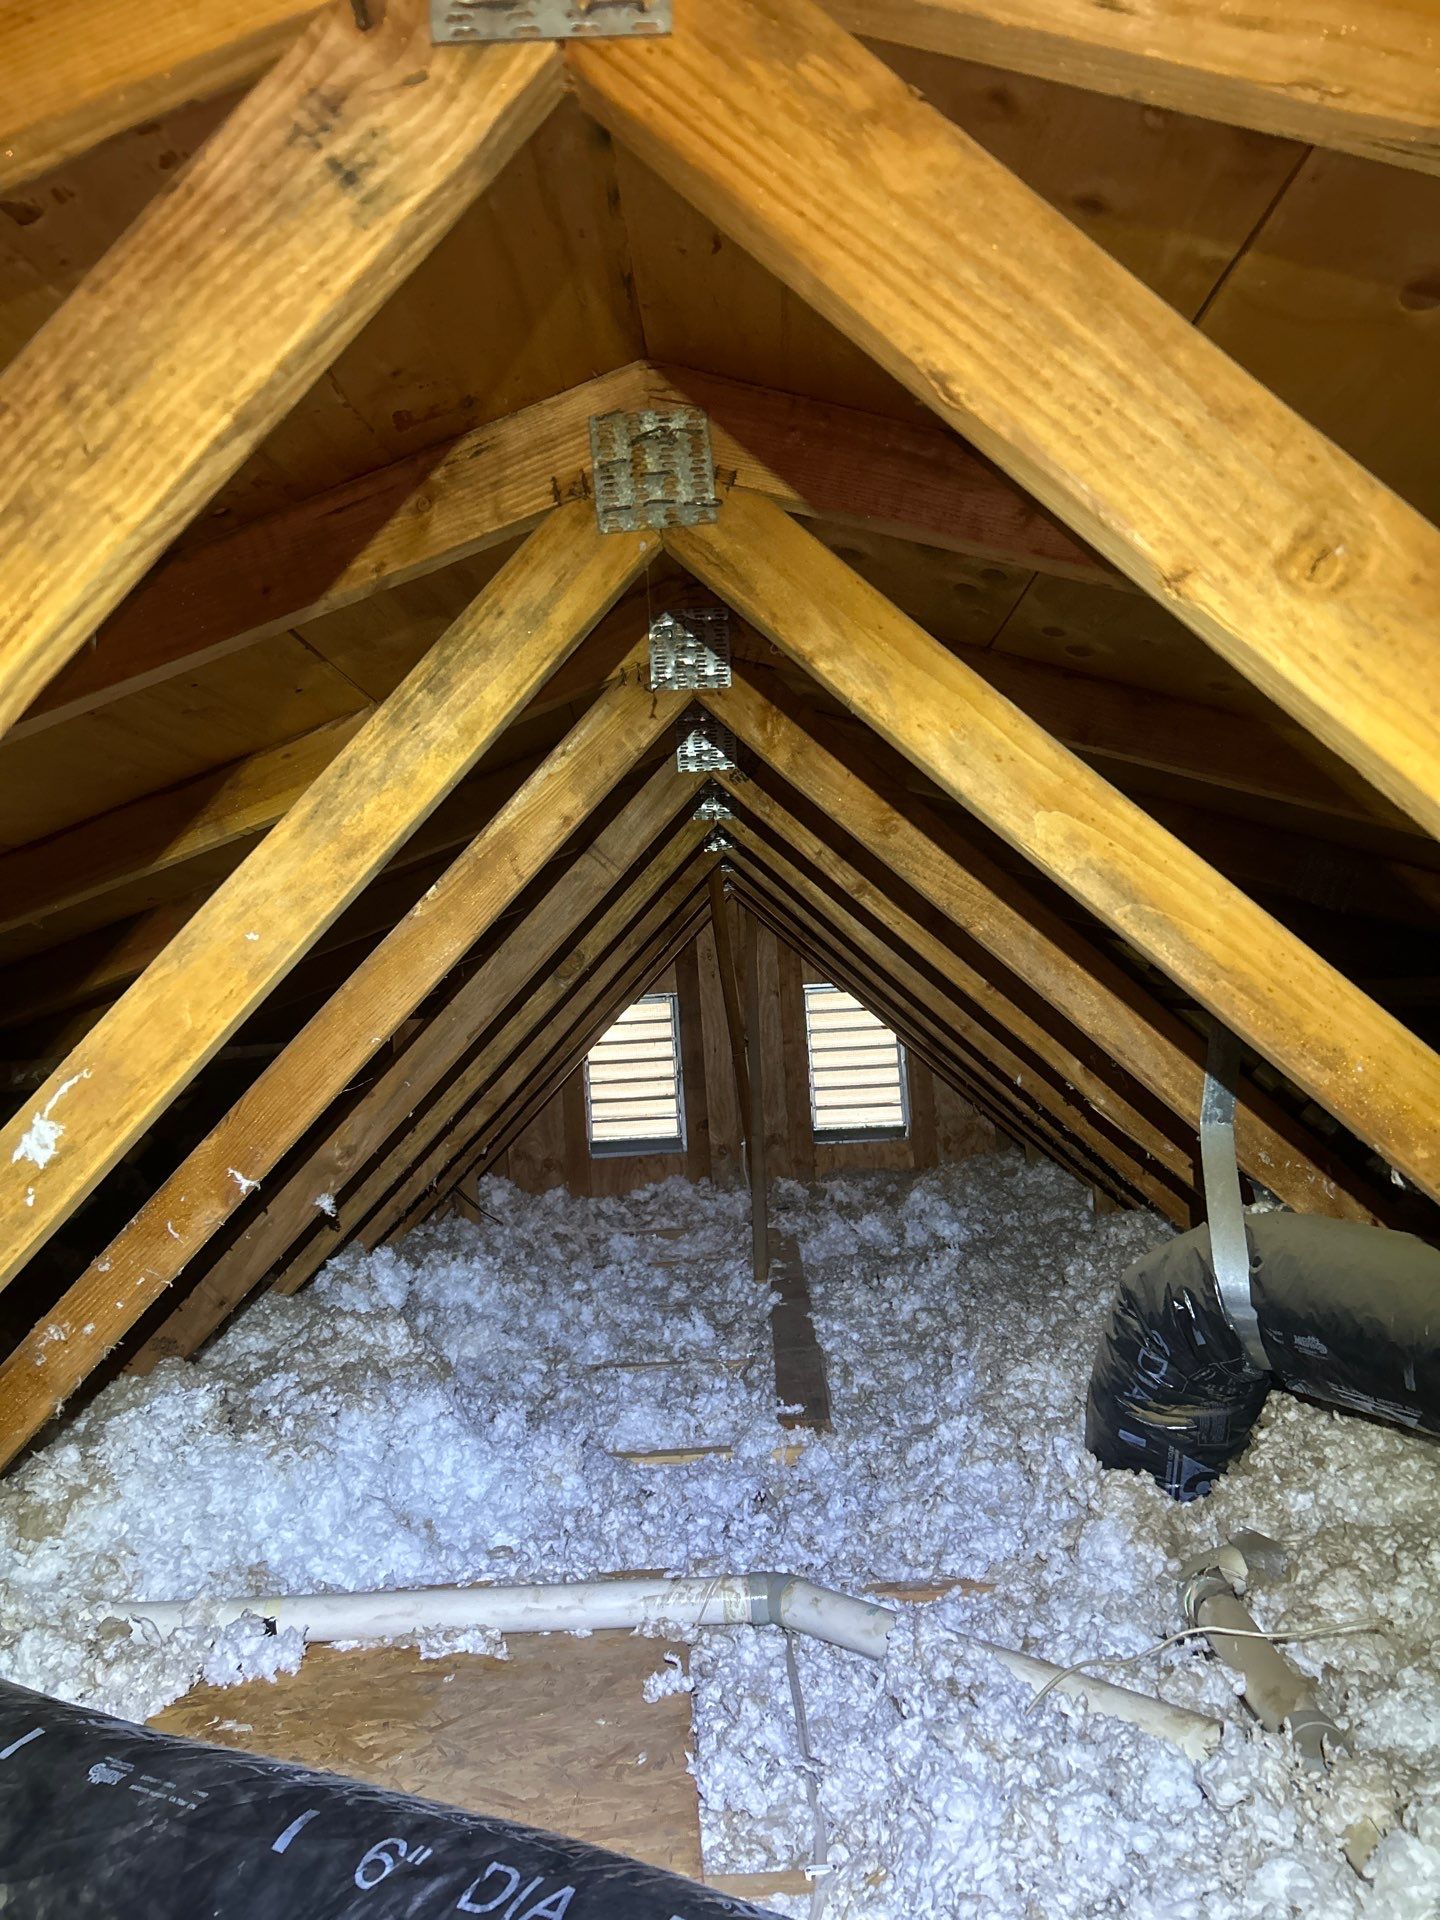
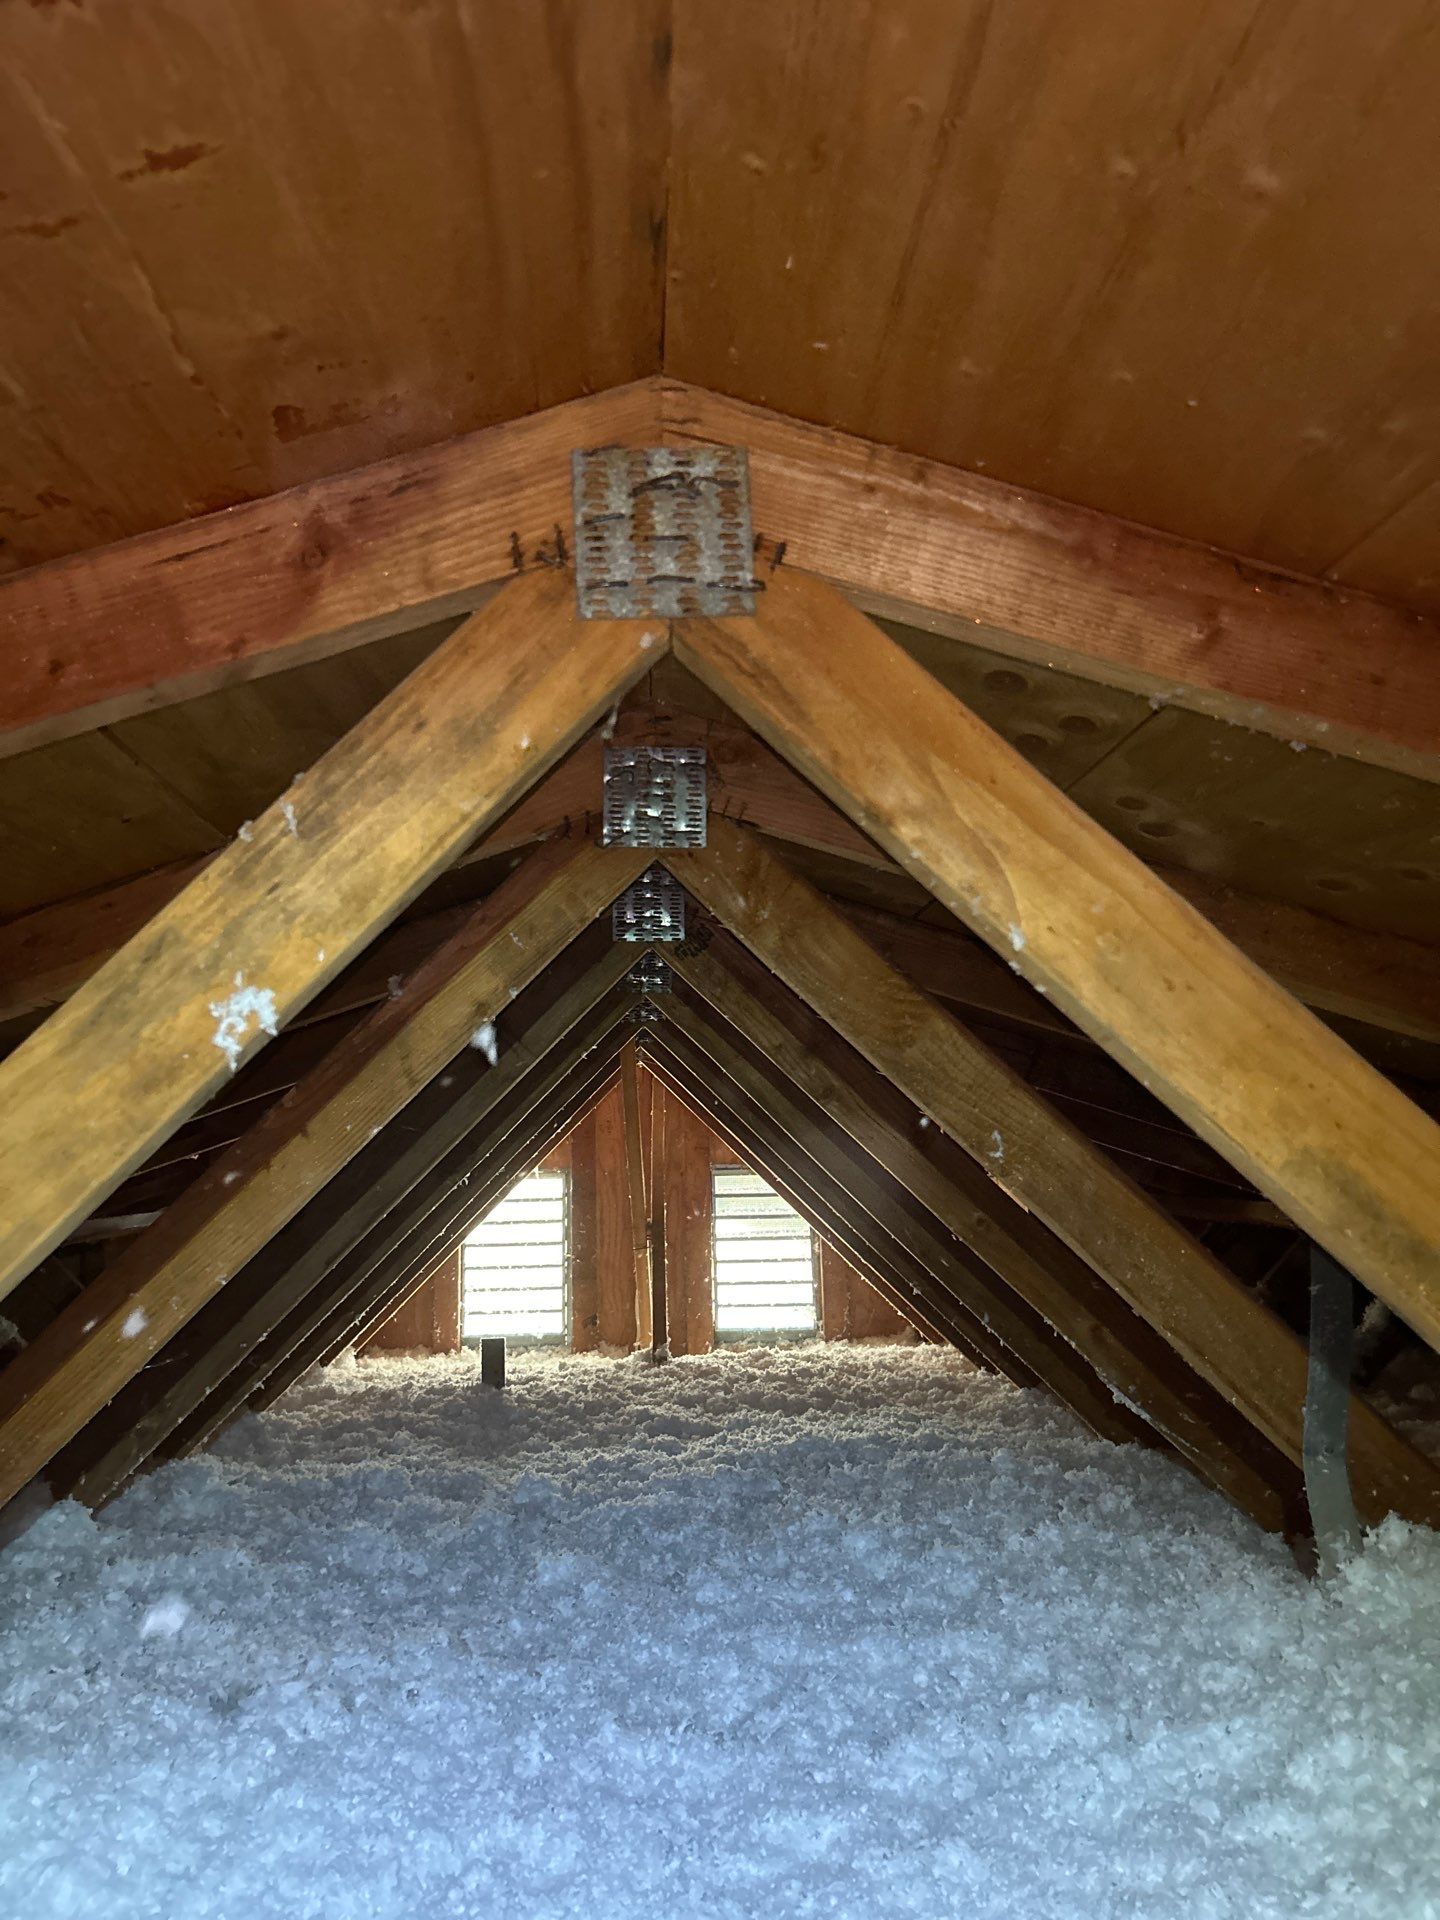
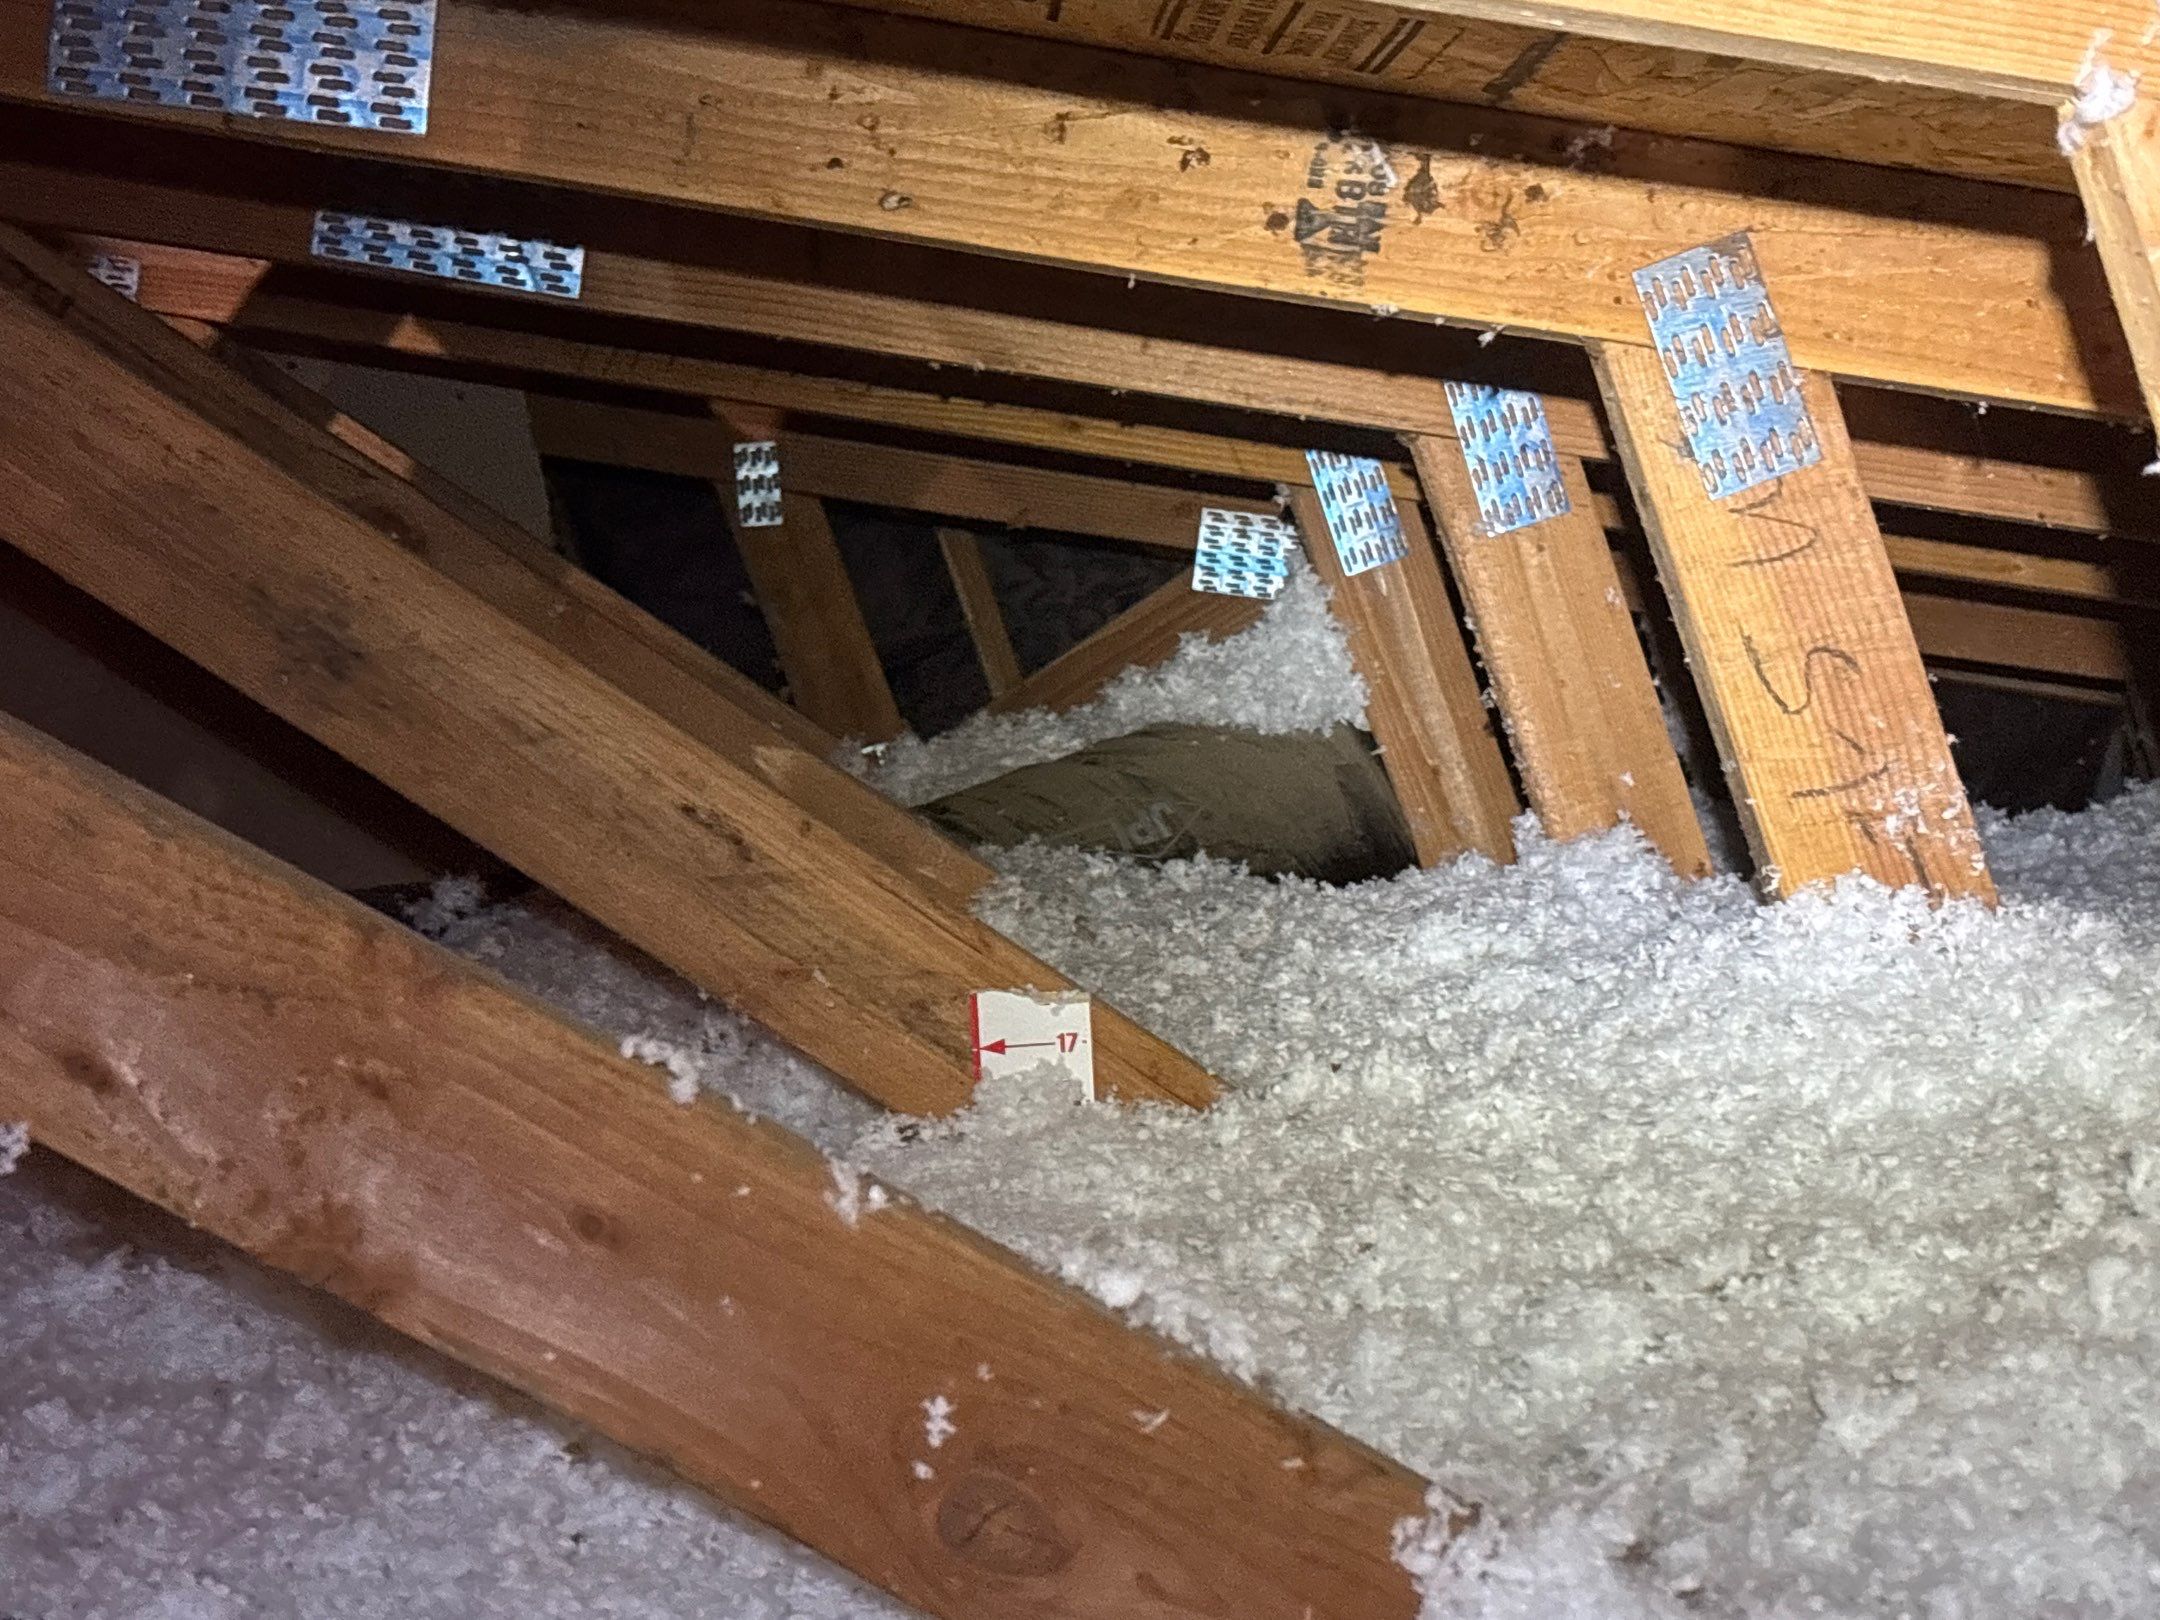
- We then installed a fresh layer of premium fiberglass insulation, achieving the recommended R38 level for maximum energy efficiency.
- As part of our service, we provided Patricia with before and after pictures to showcase the improvements made.
With this attic restoration, Patricia can now enjoy a home with cleaner air, better insulation performance, and reduced energy costs. Her home will stay comfortable in all seasons, providing peace of mind for years to come.
Jose reached out to us because he was dealing with poor air quality and an excessive amount of dust in his home. After a detailed attic inspection, we identified the issue: only three inches of old, dirty cellulose insulation remained in the attic. This degraded insulation was no longer providing adequate coverage and contributed to the dust and allergens circulating in his home. We recommended a comprehensive attic restoration to resolve these concerns.
Here’s how we completed the attic restoration:
- We began by vacuuming out the old, dirty cellulose insulation to eliminate accumulated dust and contaminants.
- Then, we air-sealed all potential leakage points, including top plates, registers, recessed lights, and plumbing and wiring penetrations, using closed-cell foam to prevent air leakage.
- Following the sealing process, we thoroughly cleaned and sanitized the attic with Nisus DSV disinfectant to remove bacteria, viruses, and unwanted odors.
- To prevent future rodent infestations, we installed rodent-proof barriers at potential entry points.
- We then installed a fresh layer of premium fiberglass insulation, achieving the recommended R38 level for maximum energy efficiency.
- As part of our service, we provided Jose with before and after pictures to showcase the improvements made.
With this attic restoration, Jose can now enjoy a home with cleaner air, better insulation performance, and reduced energy costs. His home will stay comfortable in all seasons, providing peace of mind for years to come.
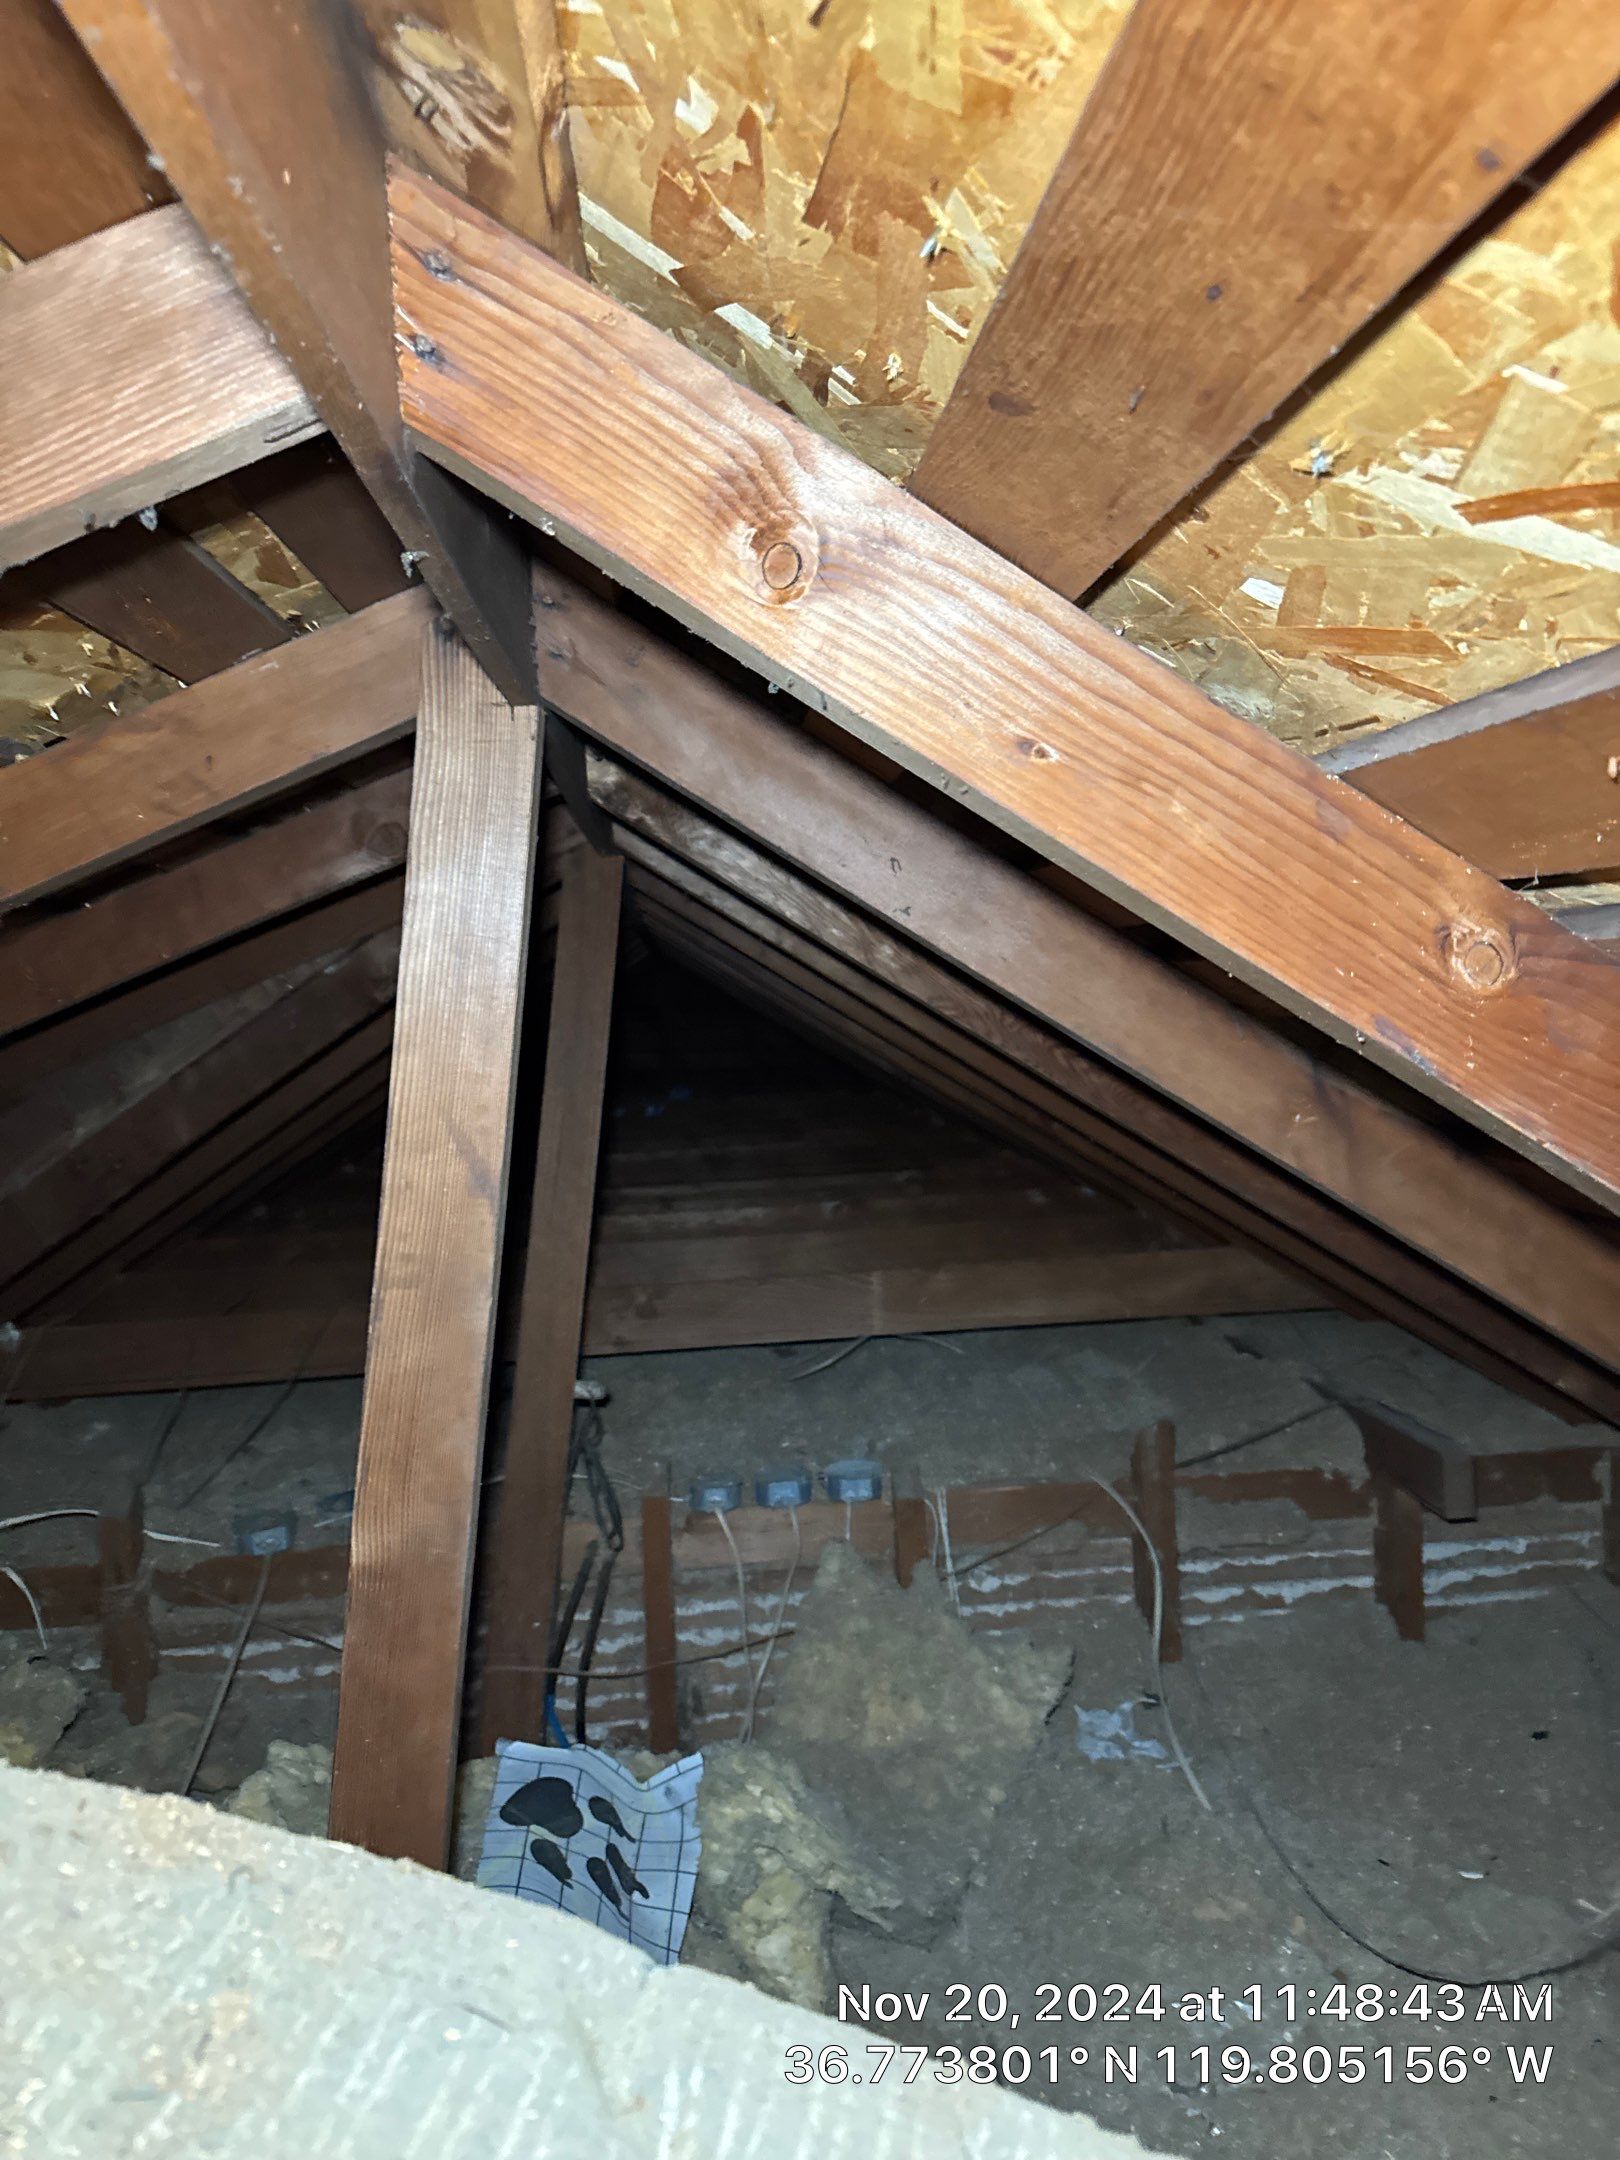
Roland contacted us because he was experiencing poor air quality in his home and noticed excessive dust buildup. After conducting a thorough attic inspection, we found the culprit: only three inches of old cellulose insulation remained in the attic, which was no longer effective and contributed to the dusty conditions in his home. To address these issues and create a healthier indoor environment, we recommended a full attic restoration.
Here’s how we completed the attic restoration:
- We started by vacuuming out the old, dusty cellulose insulation to remove accumulated dirt and contaminants.
- Next, we air-sealed all potential leakage points, such as top plates, registers, recessed lighting, and plumbing or wiring penetrations, using closed-cell foam to prevent air from escaping or entering the attic.
- After sealing, we cleaned and sanitized the attic with Nisus DSV disinfectant to eliminate bacteria, viruses, and other harmful pathogens.
- To prevent future rodent issues, we installed rodent-proof barriers at potential entry points.
- Finally, we installed a fresh layer of premium fiberglass insulation, bringing the attic up to the recommended R38 level for optimal energy efficiency.
- As always, we provided Roland with detailed before and after pictures of the work completed.
Thanks to our attic restoration services, Roland’s home will now have cleaner air, improved insulation efficiency, and lower energy bills. With better indoor air quality and a properly insulated attic, his home will remain comfortable year-round.
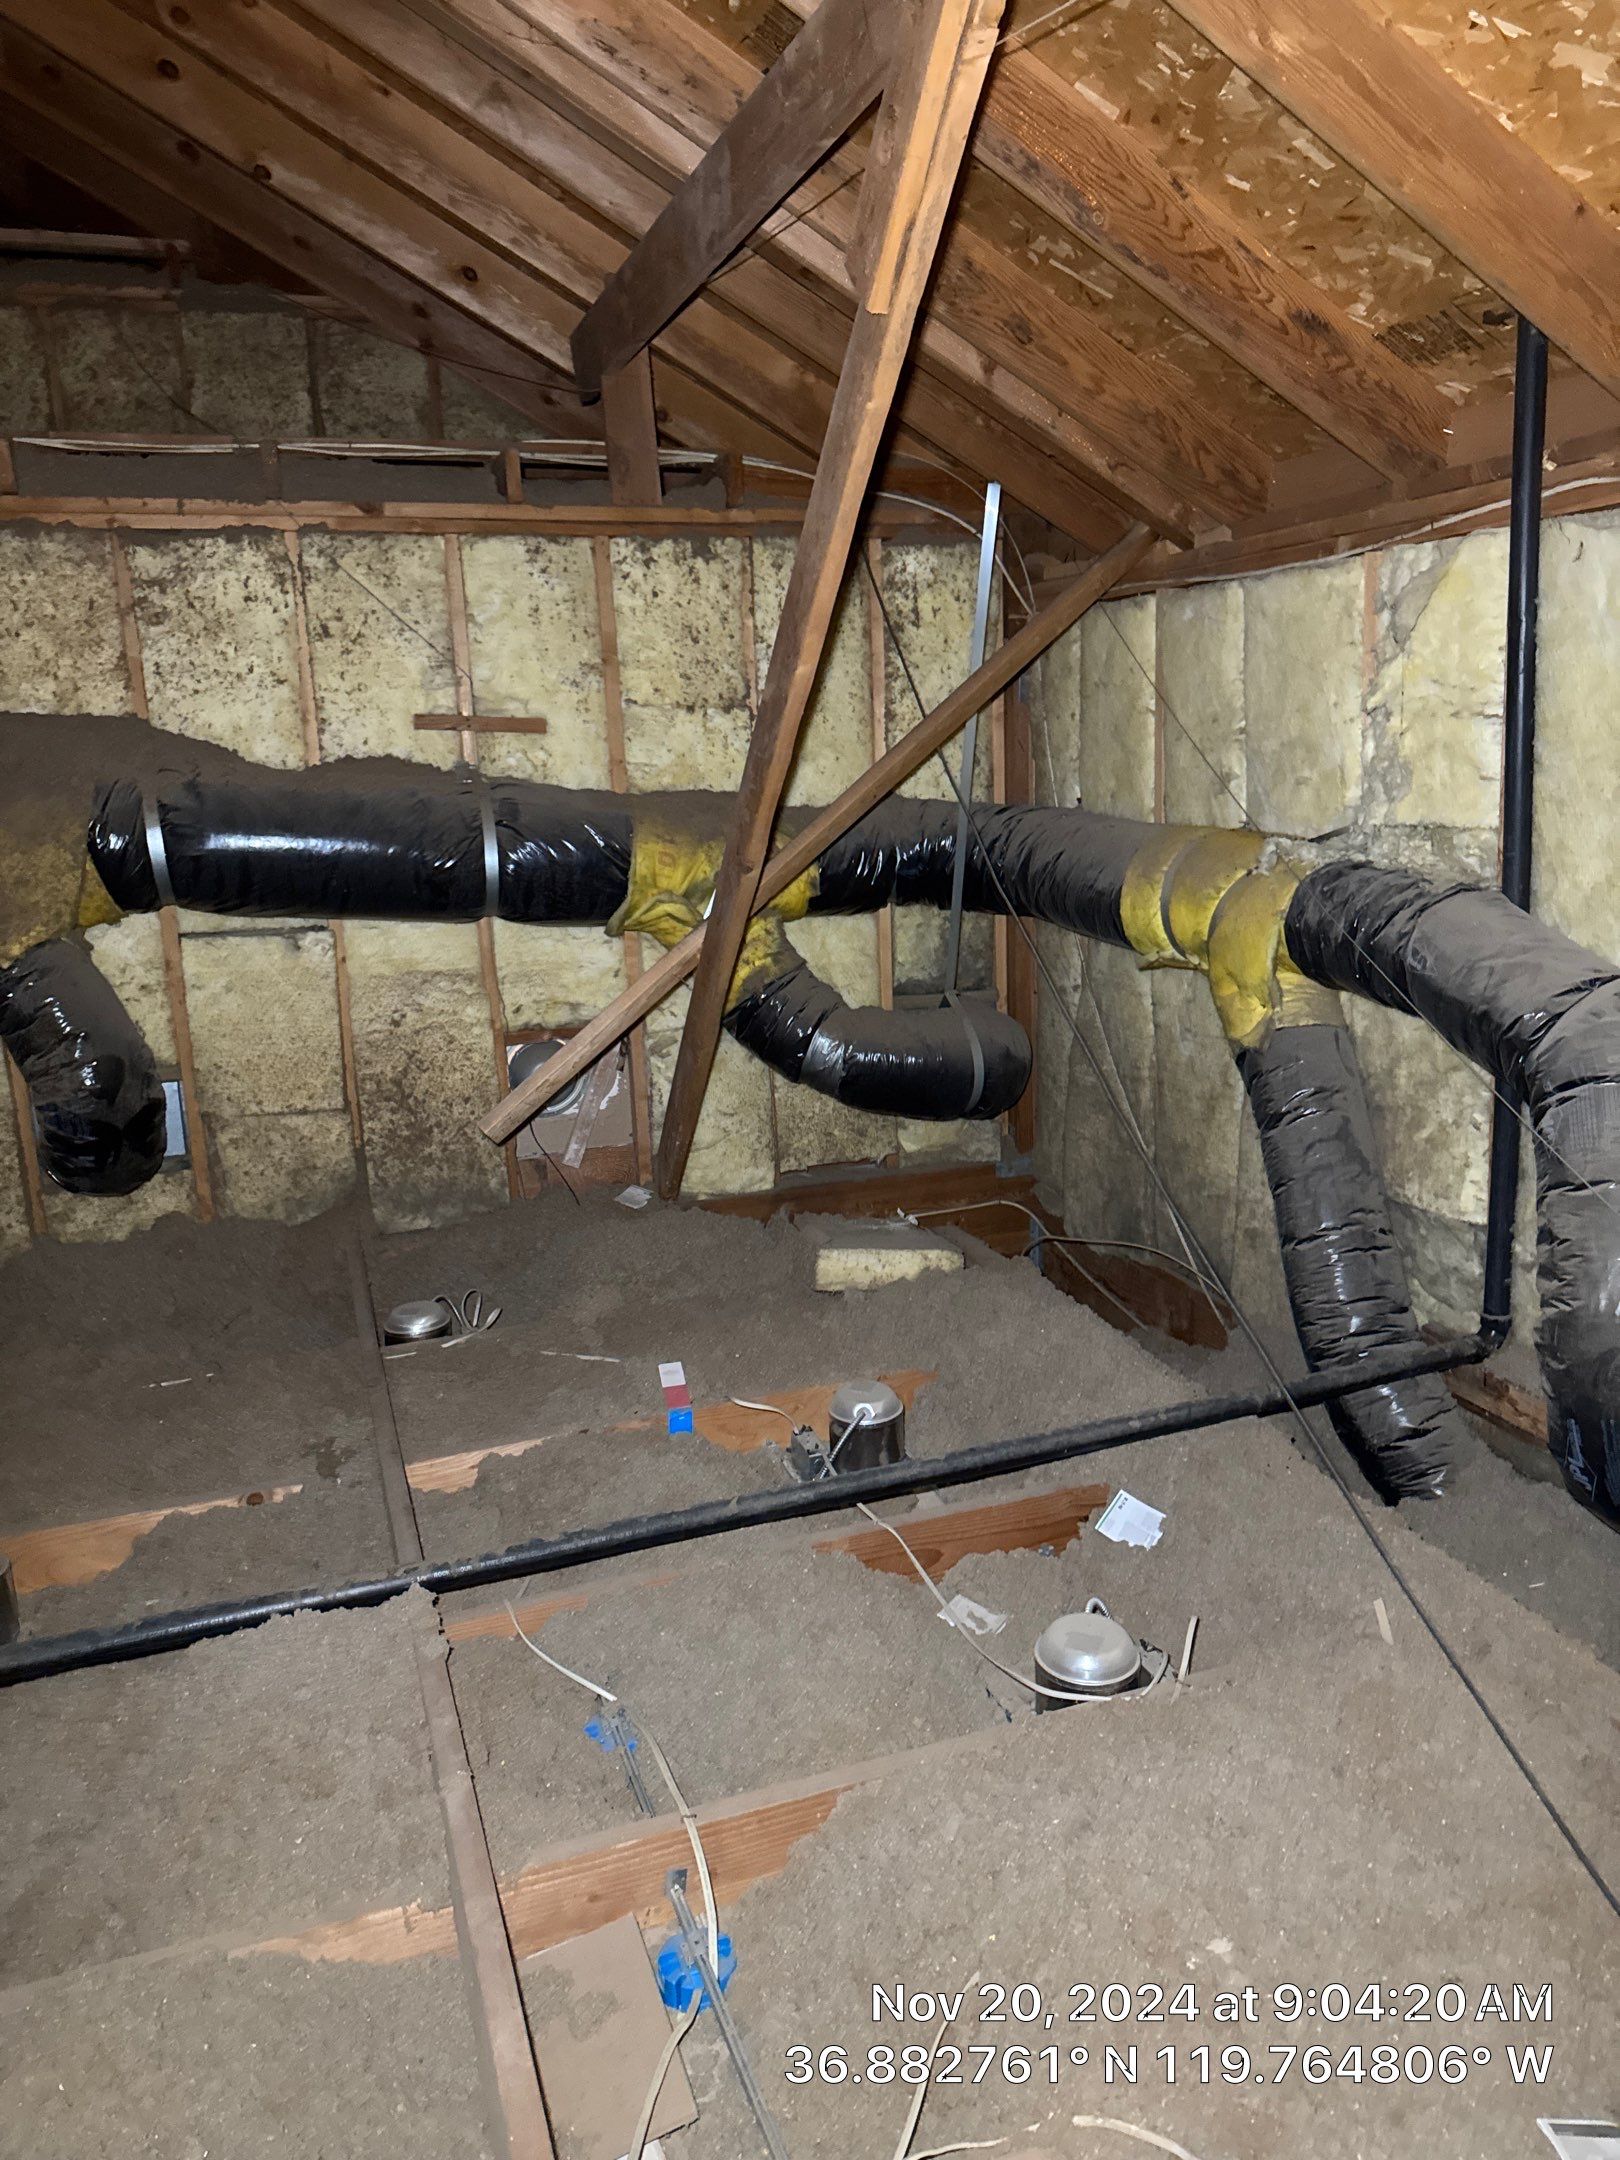
Doug had been struggling with a chilly home in winter and stifling temperatures in summer in his Coarsegold home. As a result, his heating and cooling bills were steadily increasing. After some research, he determined that his attic insulation must be low. He discovered Tyson through our 350+ 5-star Google reviews and gave us a call. We came out and inspected his attic and found that he only had about four inches of insulation present. He decided that adding attic insulation would be the best way to reach his goals of keeping his home comfortable while also reducing his bills.
We began by air-sealing visible leakage points to help prevent airflow between the attic and the home’s living spaces. We then blew in about ten inches of fiberglass insulation, bringing his attic to the Energy Star-recommended R38 level.
As a result of adding attic insulation, Doug will now enjoy reduced heating and cooling costs by up to 20%, a warmer home during winter, and a cooler home during summer.
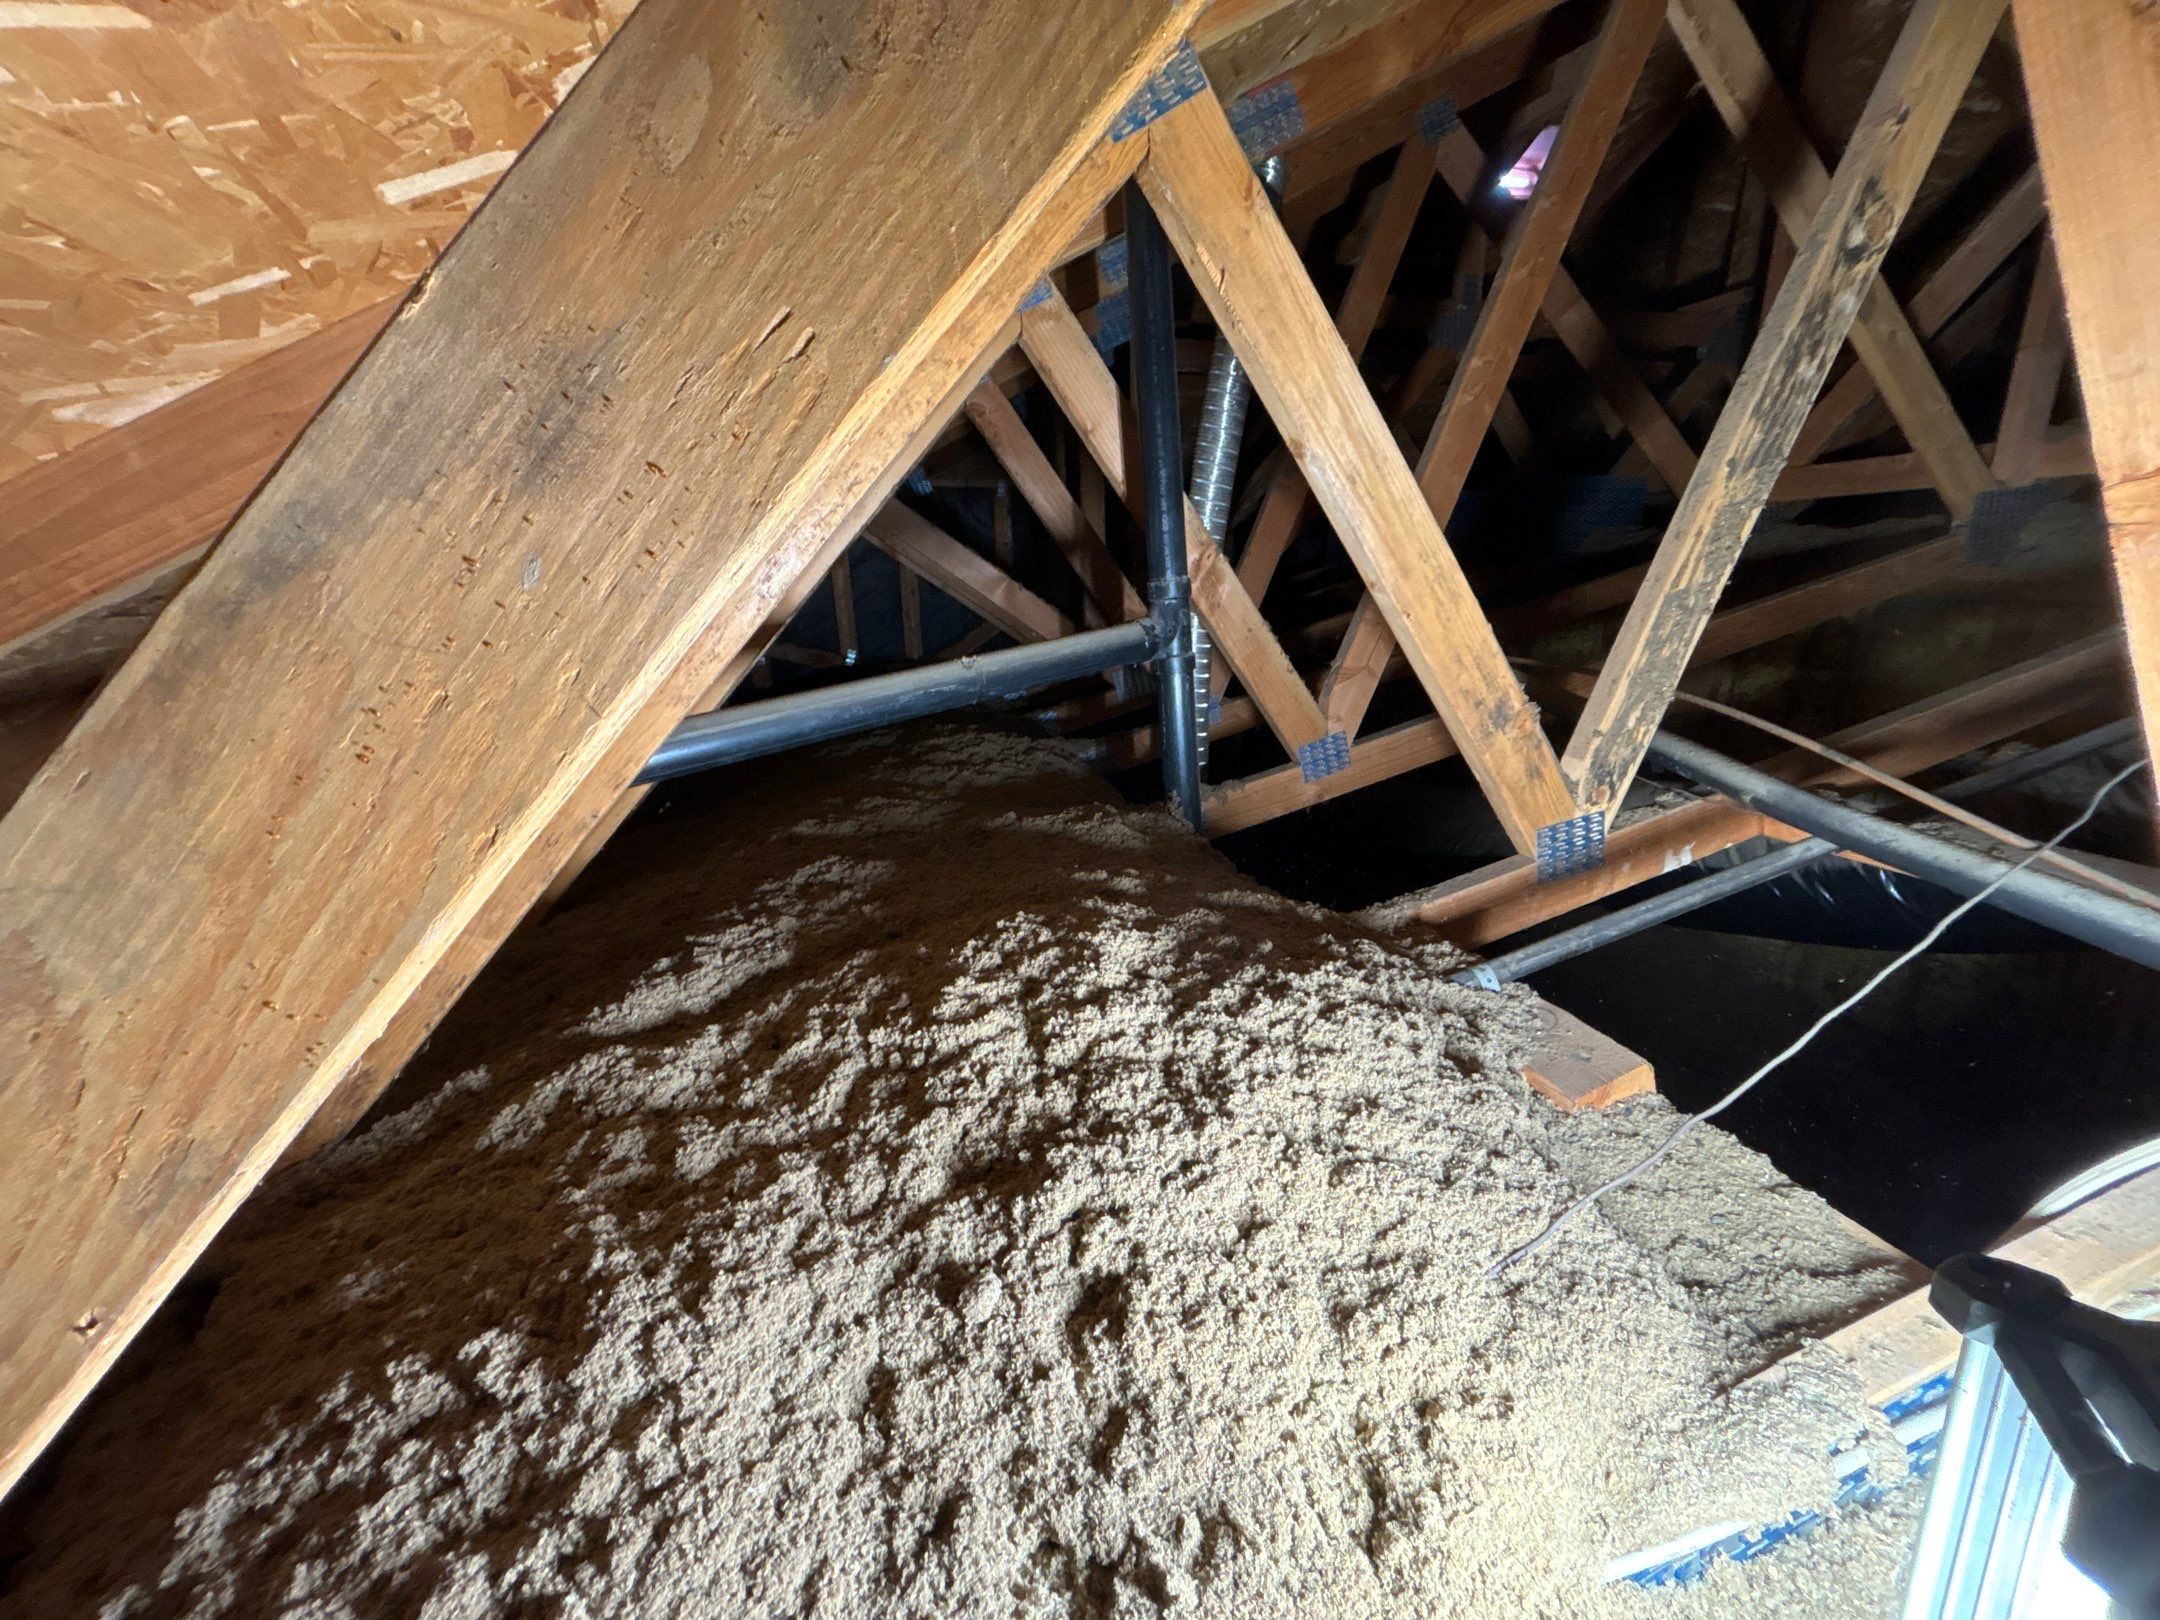
Minerva was referred to Tyson by a family member who had us do work for her and was thrilled with the results. Minerva was looking to reduce her heating and cooling costs and make her home a more comfortable temperature year-round. When we came out and inspected her attic, we found that there was only about 4-5 inches of old, dirty cellulose insulation present. This was well below the R38 level recommended by Energy Star. Minerva decided to have us complete a full attic restoration.
To complete the attic restoration, we took the following steps:
- removed the old insulation by sucking it out with our powerful Cool Machines CoolVac 37 removal machine
- cleaned and sanitized the attic to remove contaminants, irritants, and odors
- air-sealed the attic floor including top plates, wiring and plumbing penetrations, registers, and recessed lights
- installed rodent-proof barriers at potential entry points to block their access to the attic
- blew in premium fiberglass insulation to an R38 level, which is the recommendation for our climate in the Fresno-area
As a result of the insulation removal, air-sealing, and new insulation installation we did for Minerva, she will now enjoy the following benefits:
- reduced heating and cooling costs by up to 50%
- a warm, cozy home in winter and a cool, comfortable home in summer
- better indoor air quality
- a higher resale value for her home should she ever decide to sell